Hashicorp Nomad
Deploy secrets in Phase to your Nomad cluster as variables.
When secret syncing is enabled, secrets stored inside Phase will be treated as the source of truth. Any secrets on the target service will be overwritten or deleted. Please import your secrets into Phase before continuing.
Prerequisites
- Sign up for the Phase Console and create an App.
- Enable Server-side Encryption (SSE) for the App from the Settings tab.
Optional: Import existing secrets from Hashicorp Nomad to Phase
You can use the following commands to import existing secrets from Nomad variables to Phase via the respective CLIs. Please make sure to replace the placeholders with appropriate source and destination for your secrets.
nomad var get -out json <PATH_TO_YOUR_NOMAD_VARIABLE> | \
jq -r '.Items | to_entries | map("\(.key)=\(.value | tostring)") | .[]' > .env && \
phase secrets import .env --env <YOUR_PHASE_ENV> --app <YOUR_PHASE_APPLICATION>
Step 1: Authentication
- Create an ACL policy that will allow the Phase Console to write secrets to your Nomad cluster.
While choosing a path in your policy you may want to consider the following Nomad variable path conventions.
- Use
nomad/jobsfor access in all tasks in all jobs - Use
nomad/jobs/my-nomad-jobfor access from all tasks in this job - Use
nomad/jobs/my-nomad-job/webfor access from all tasks in a specific task group - Use
nomad/jobs/my-nomad-job/web/httpfor access from a specific task
Learn more about automatic access to Nomad Variables
Create a Client Token via the Nomad CLI:
First let's start by creating an ACL Policy, create a policy.hcl file and write a valid policy to it.
Below is a sample policy that you can use to deploy secrets to any path under nomad/jobs/my-nomad-job* in the default namespace. Feel free to adapt it for your own needs.
namespace "default" {
  policy = "write"

  variables {
    path "nomad/jobs/my-nomad-job*" {
      capabilities = ["write"]
    }
  }
}
Apply the policy:
nomad acl policy apply phase-console-nomad-secret-sync policy.hcl
Create the Client Token with the above policy.
nomad acl token create -name='phase-console-nomad-sync-token' -policy='phase-console-nomad-secret-sync'
You should see the following output, please grab the Secret ID this is our Client Token.
Accessor ID  = 0d39be90-c87a-62dd-66cb-925ddf6086d1
Secret ID    = 6a5bd881-33d4-0199-6276-f8e4816d8b87 👈
Name         = phase-console-nomad-sync-token
Type         = client
Global       = false
Create Time  = 2024-05-13 08:06:15.401142664 +0000 UTC
Expiry Time  = <none>
Create Index = 5285
Modify Index = 5285
Policies     = [phase-console-nomad-secret-sync]

Roles
<none>
Create a Client Token via the Nomad web UI:
First, let's start by creating a ACL Policy
Go to Access Control -> Policies -> + Create Policy
Below is a sample policy that you can use to deploy secrets to any path under nomad/jobs/my-nomad-job* in the default namespace. Feel free to adapt it for your own needs.
namespace "default" {
  policy = "write"

  variables {
    path "nomad/jobs/my-nomad-job*" {
      capabilities = ["write"]
    }
  }
}
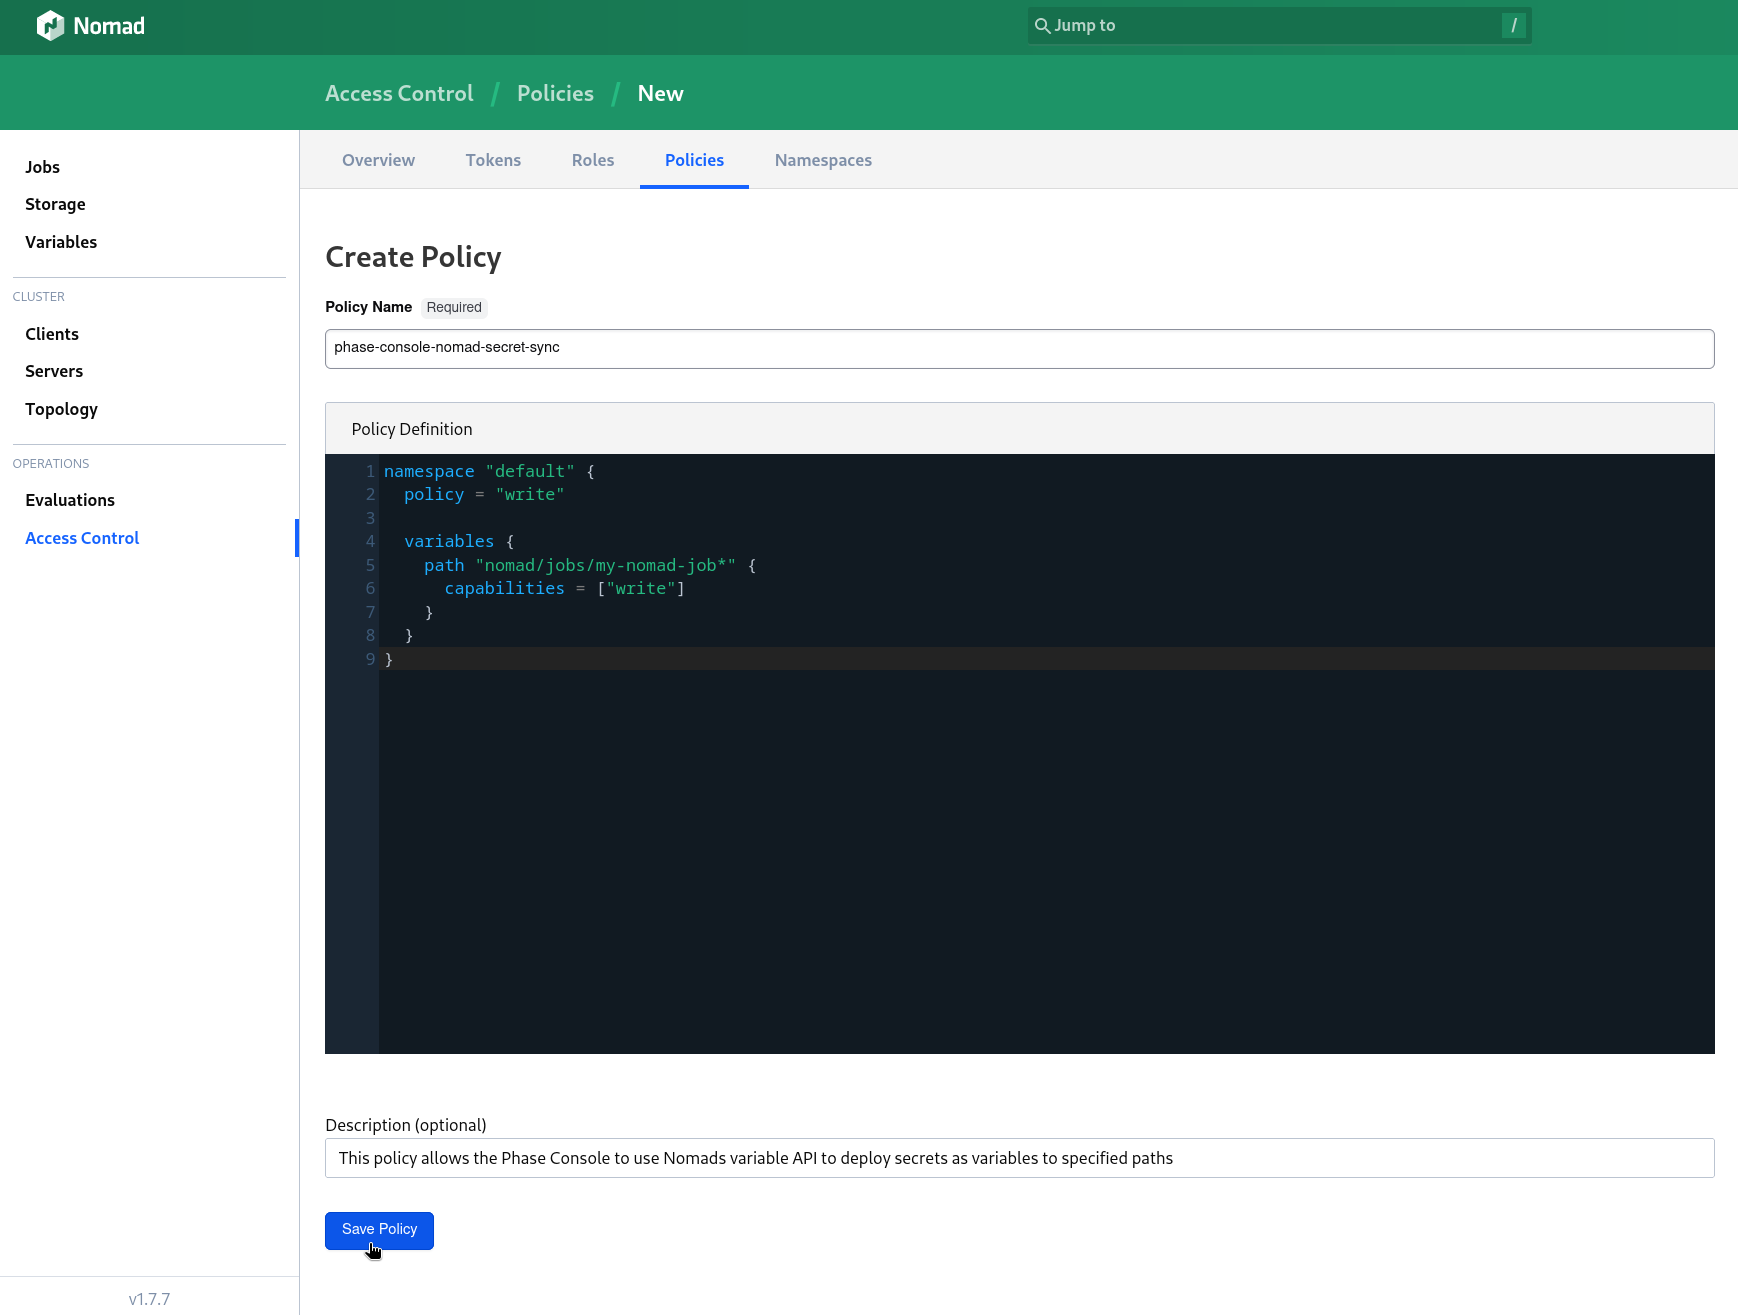
Click Save Policy.
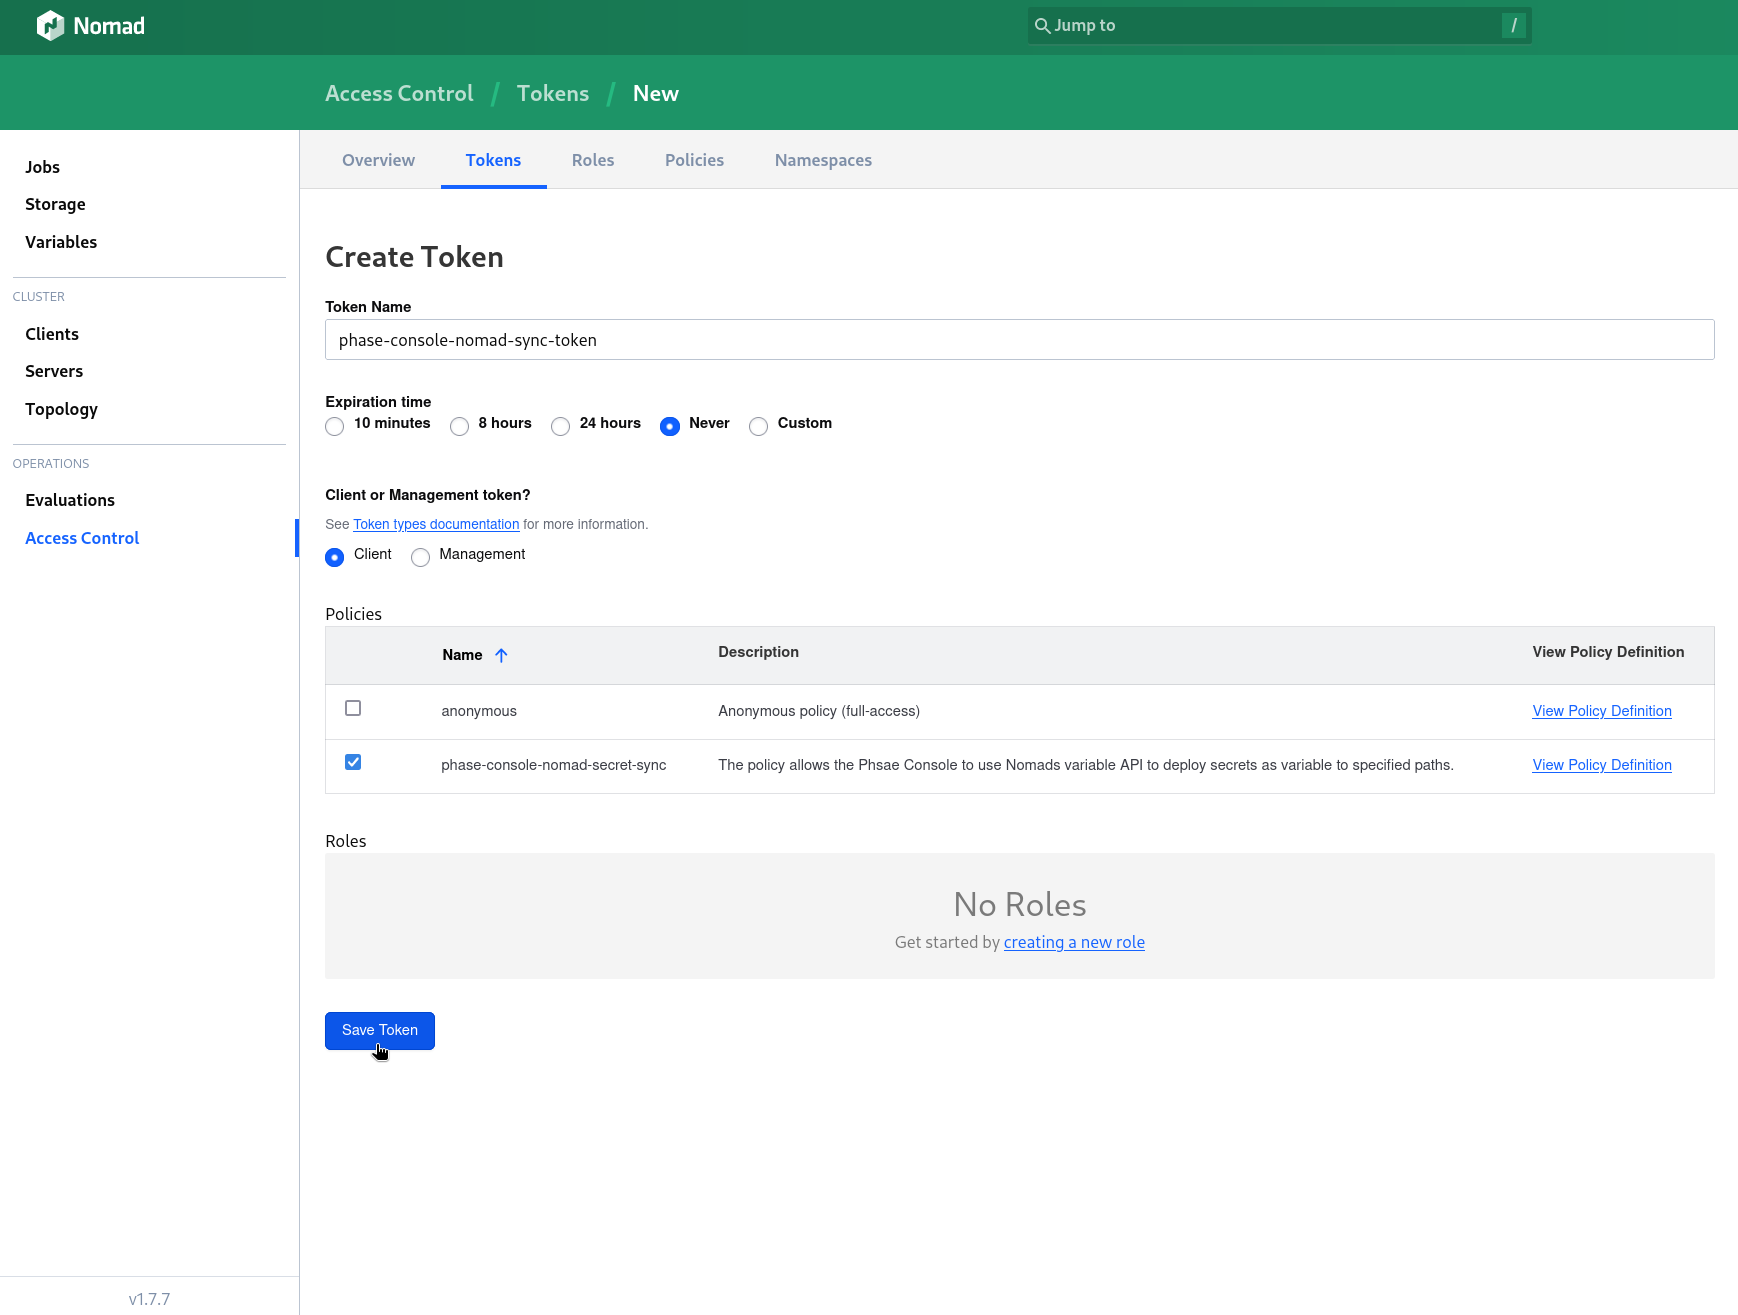
Next, let's create a Client Token.
Go to Access Control -> Tokens -> + Create Token
Enter a descriptive Token Name, make sure the Expiration time to set to Never and the token type in the Client or Management token? option is Client. Select the policy you previously created from the Policies table and click Save Token.
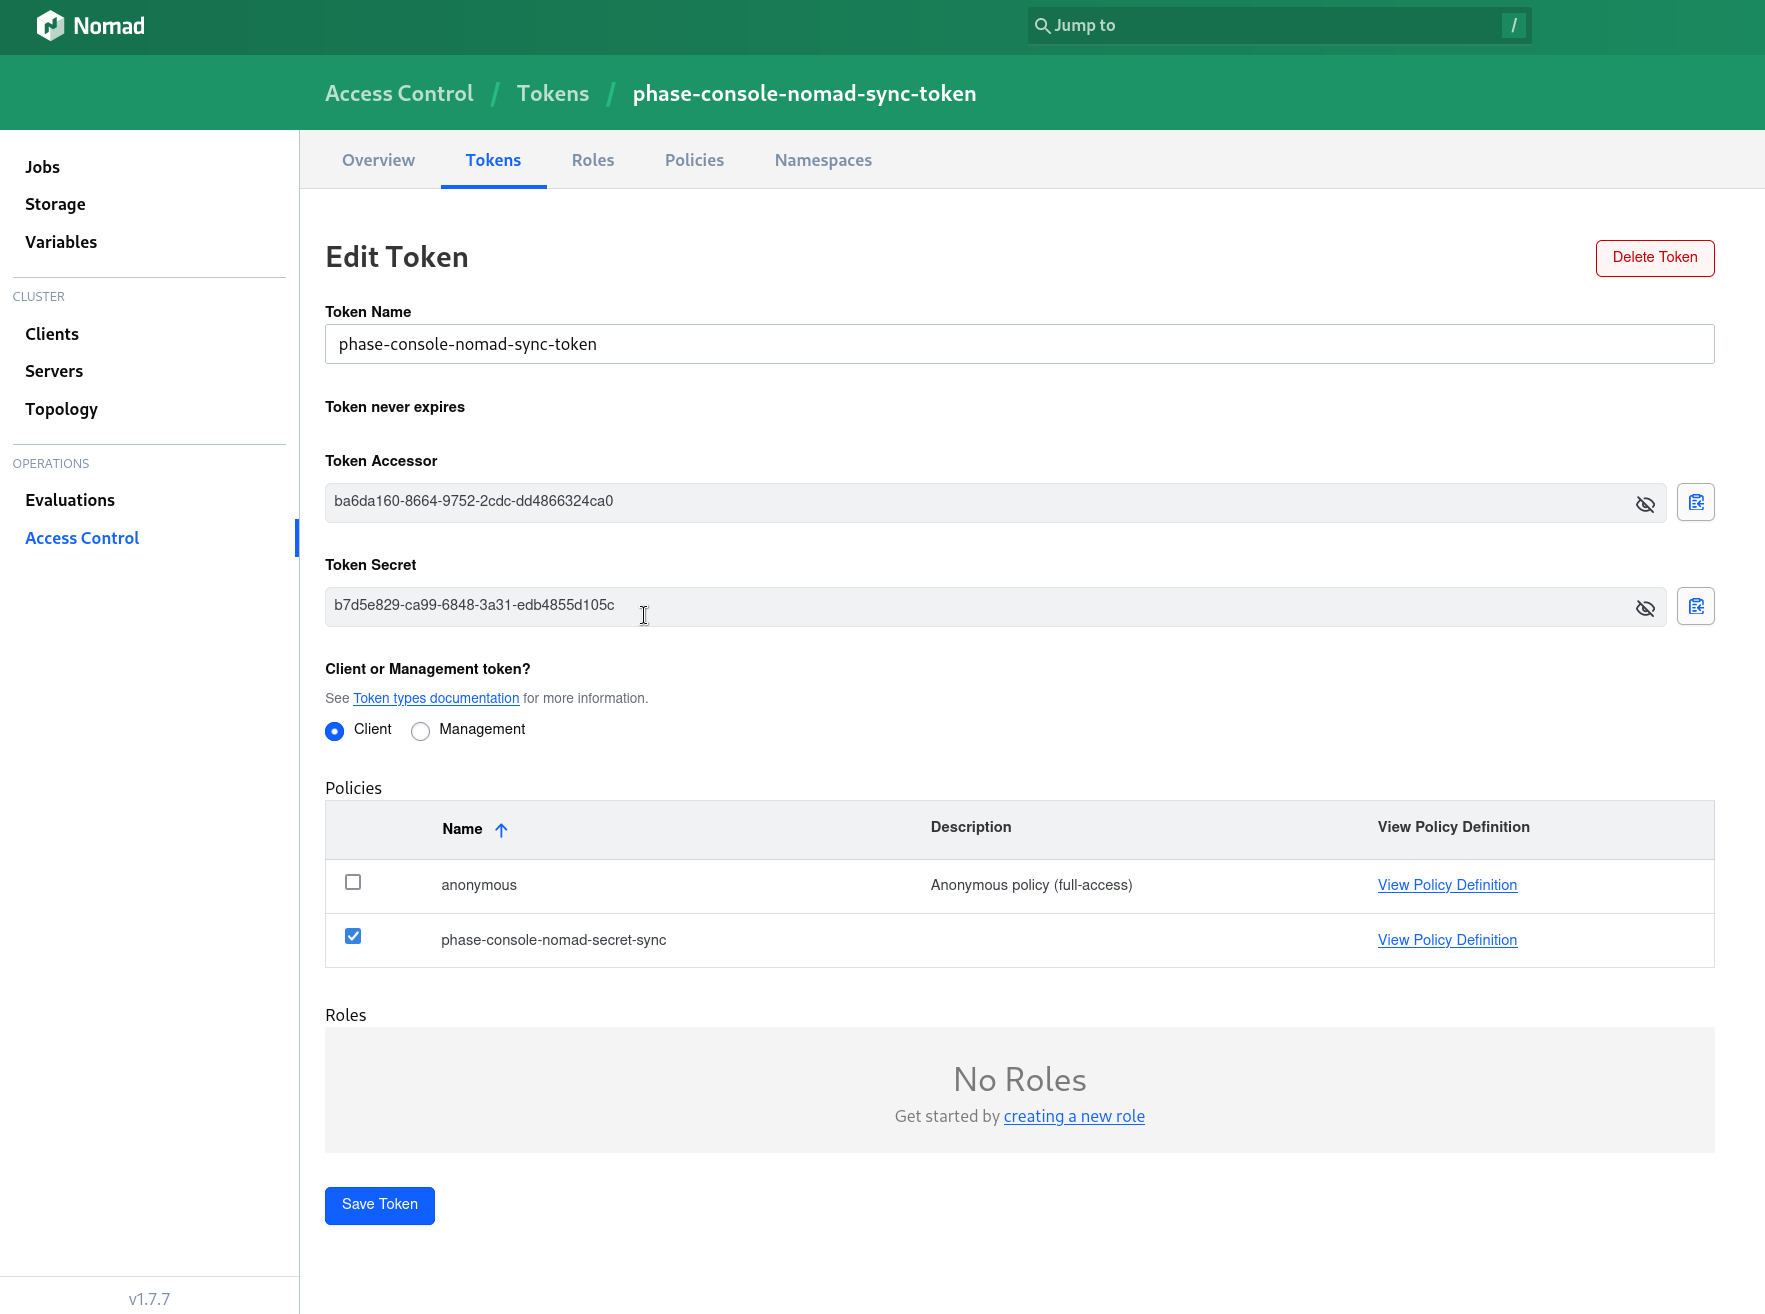
In the following screen you will presented with a Token Secret which is the Client Token, please select it with your cursor and copy it manually as the copy button that is next to the text box is unreliable and instances of Nomad web UI that are accessed over a non-https connection.
Store authentication credentials in Phase
Your credentials are kept secure with robust application-layer encryption. Phase encrypts your credentials directly in the browser and only decrypts them in memory to perform sync operations. Your credentials are never stored in plaintext.
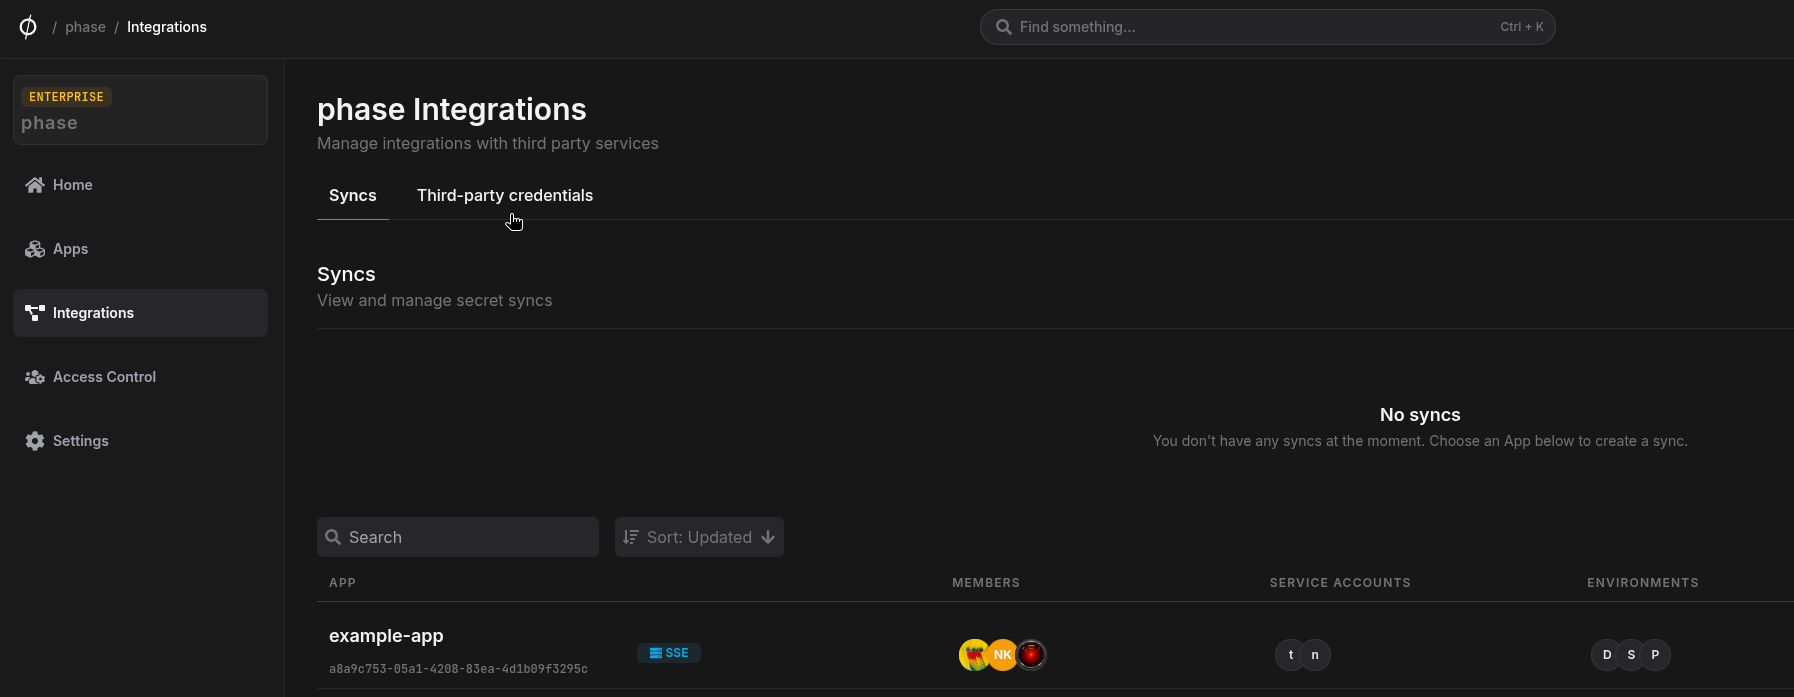
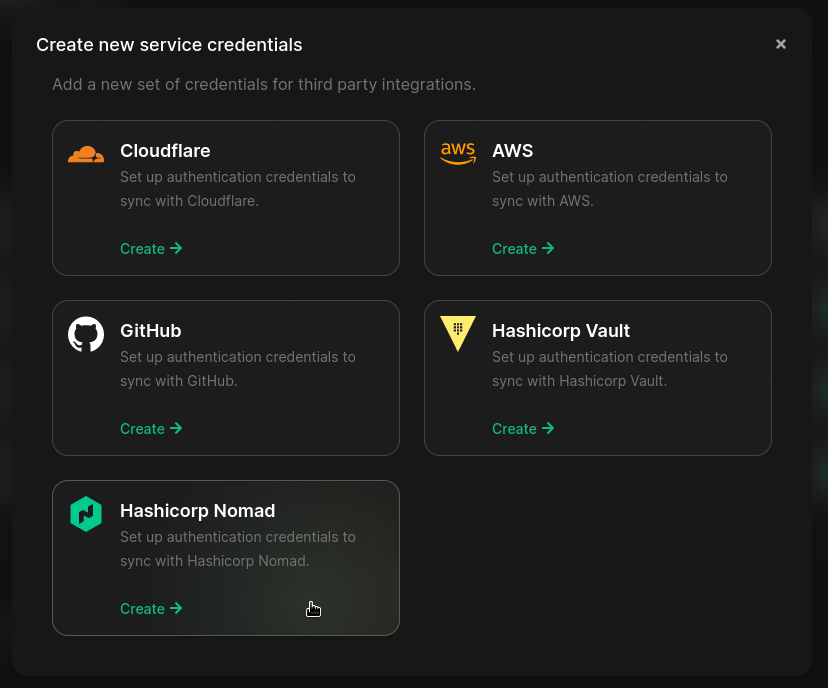
- Go to Integrations from the sidebar and click on Third-party credentials in the integrations tab.
- Click on Hashicorp Nomad
- Enter your Nomad instance host including the port, and your
Token Secretfrom the previous step. Enter a descriptive name and click Save
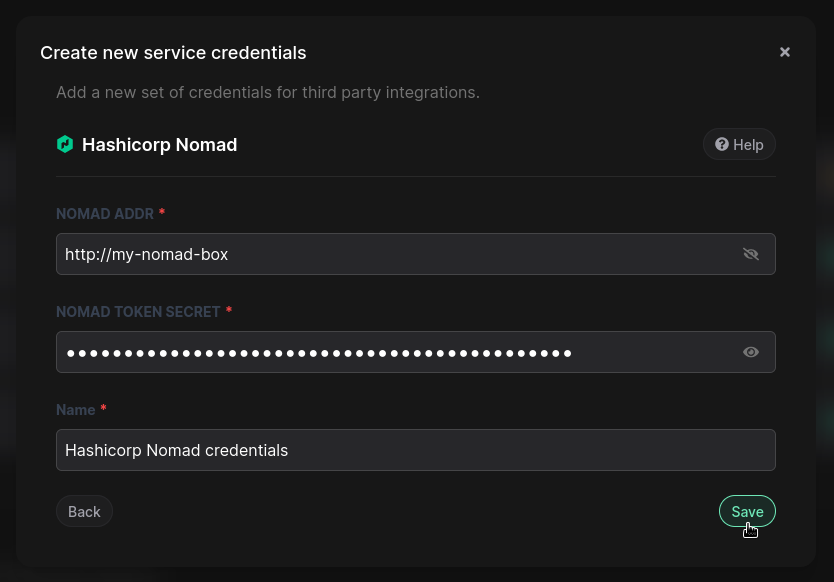
Your credentials will be encrypted and saved. You can view and manage these credentials under Service Credentials in the Integrations screen.
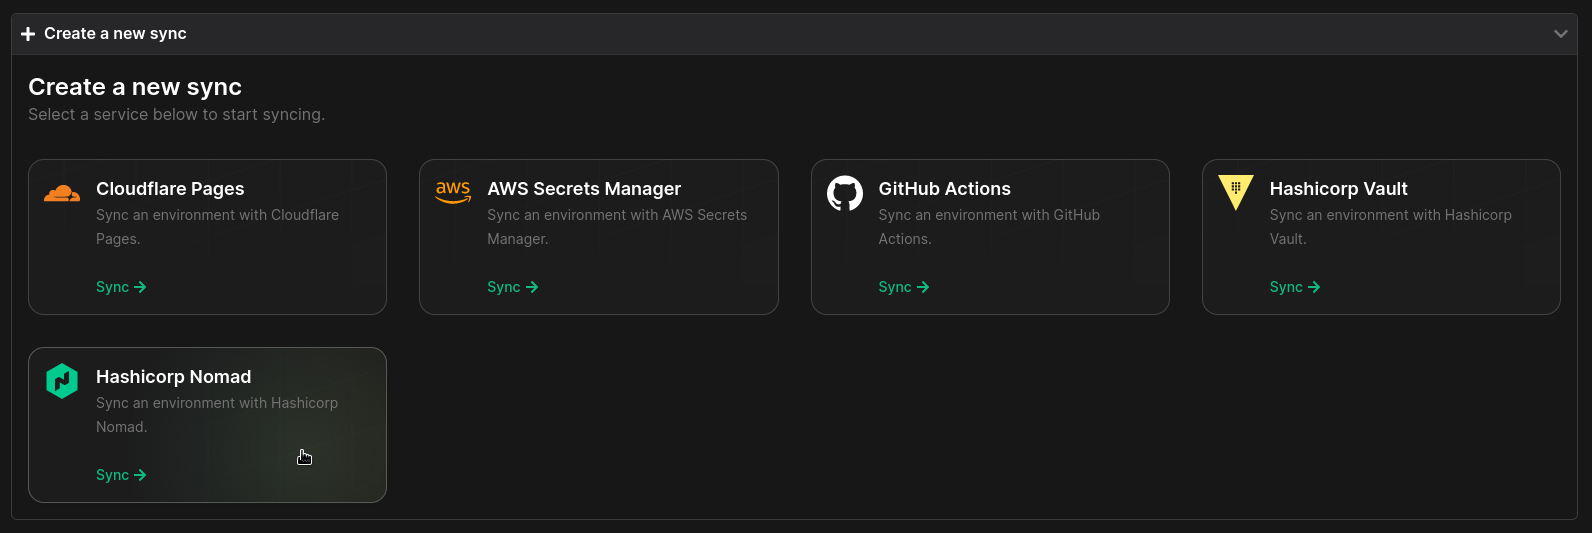
Step 2: Set up a secret sync
- Go to your App in the Phase Console and go to the Syncing tab. Select Hashicorp Nomad under the 'Create a new Sync' menu.
- Choose the credentials you added in the previous step as the authentication mode, and click Next:

- Next, you can select the source and destination to sync secrets. Select an Environment, and optionally specify a path in your Phase App as the source.
The Nomad variable in the destination will be pre-filled as
[app_name]/[env_name], and the namespace will bedefault. Change these values as required, and click Create

Your sync is now set up! Phase will now automatically update your Nomad variables whenever you make changes to your secrets in Phase. You can manage and keep track of this sync at any time from the Syncing tab in your App, or the Integrations screen from the sidebar.