Network
You can control access to resources in Phase from specific IPv4 or IPv6 sources by defining individual IPs or CIDR ranges in a Network Access Policy. You may attach such Network Access Policy to a User and/or Service Accounts individually or enforce it across your entire organization via a Global Policy. This allows you to put an additional layer of security on top of the existing access control mechanisms, by making sure that a client can only gain access to resources in Phase via mediums and/or assets such as the Phase Console, CLI, SDKs, Kubernetes Operator, REST API, etc. while being in the confines of your network.
The ability to create and manage network access policies is available for organizations with a Pro or an Enterprise tier subscription.
Network Access Policies
Network Access Policies allow you to define allowlists of IP addresses or CIDR ranges from which users or service accounts can access Phase resources. Follow these steps to manage your network access policies:
-
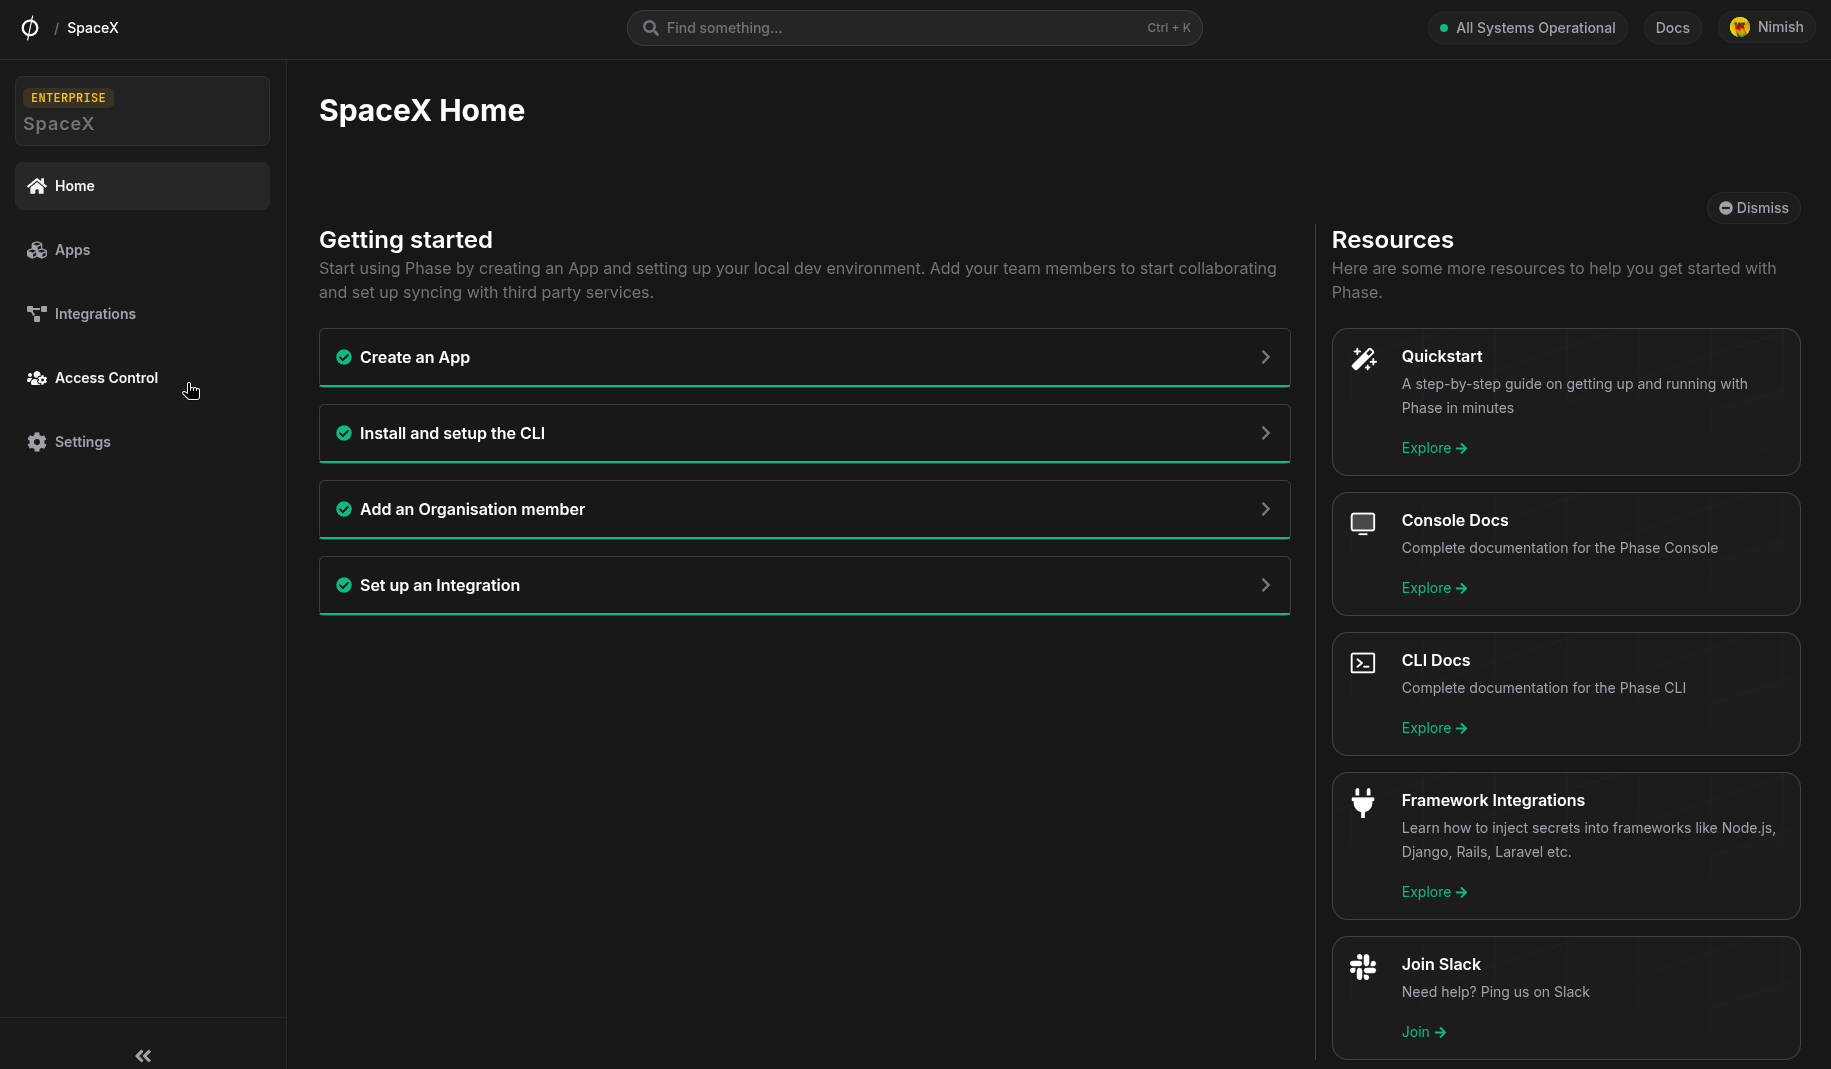
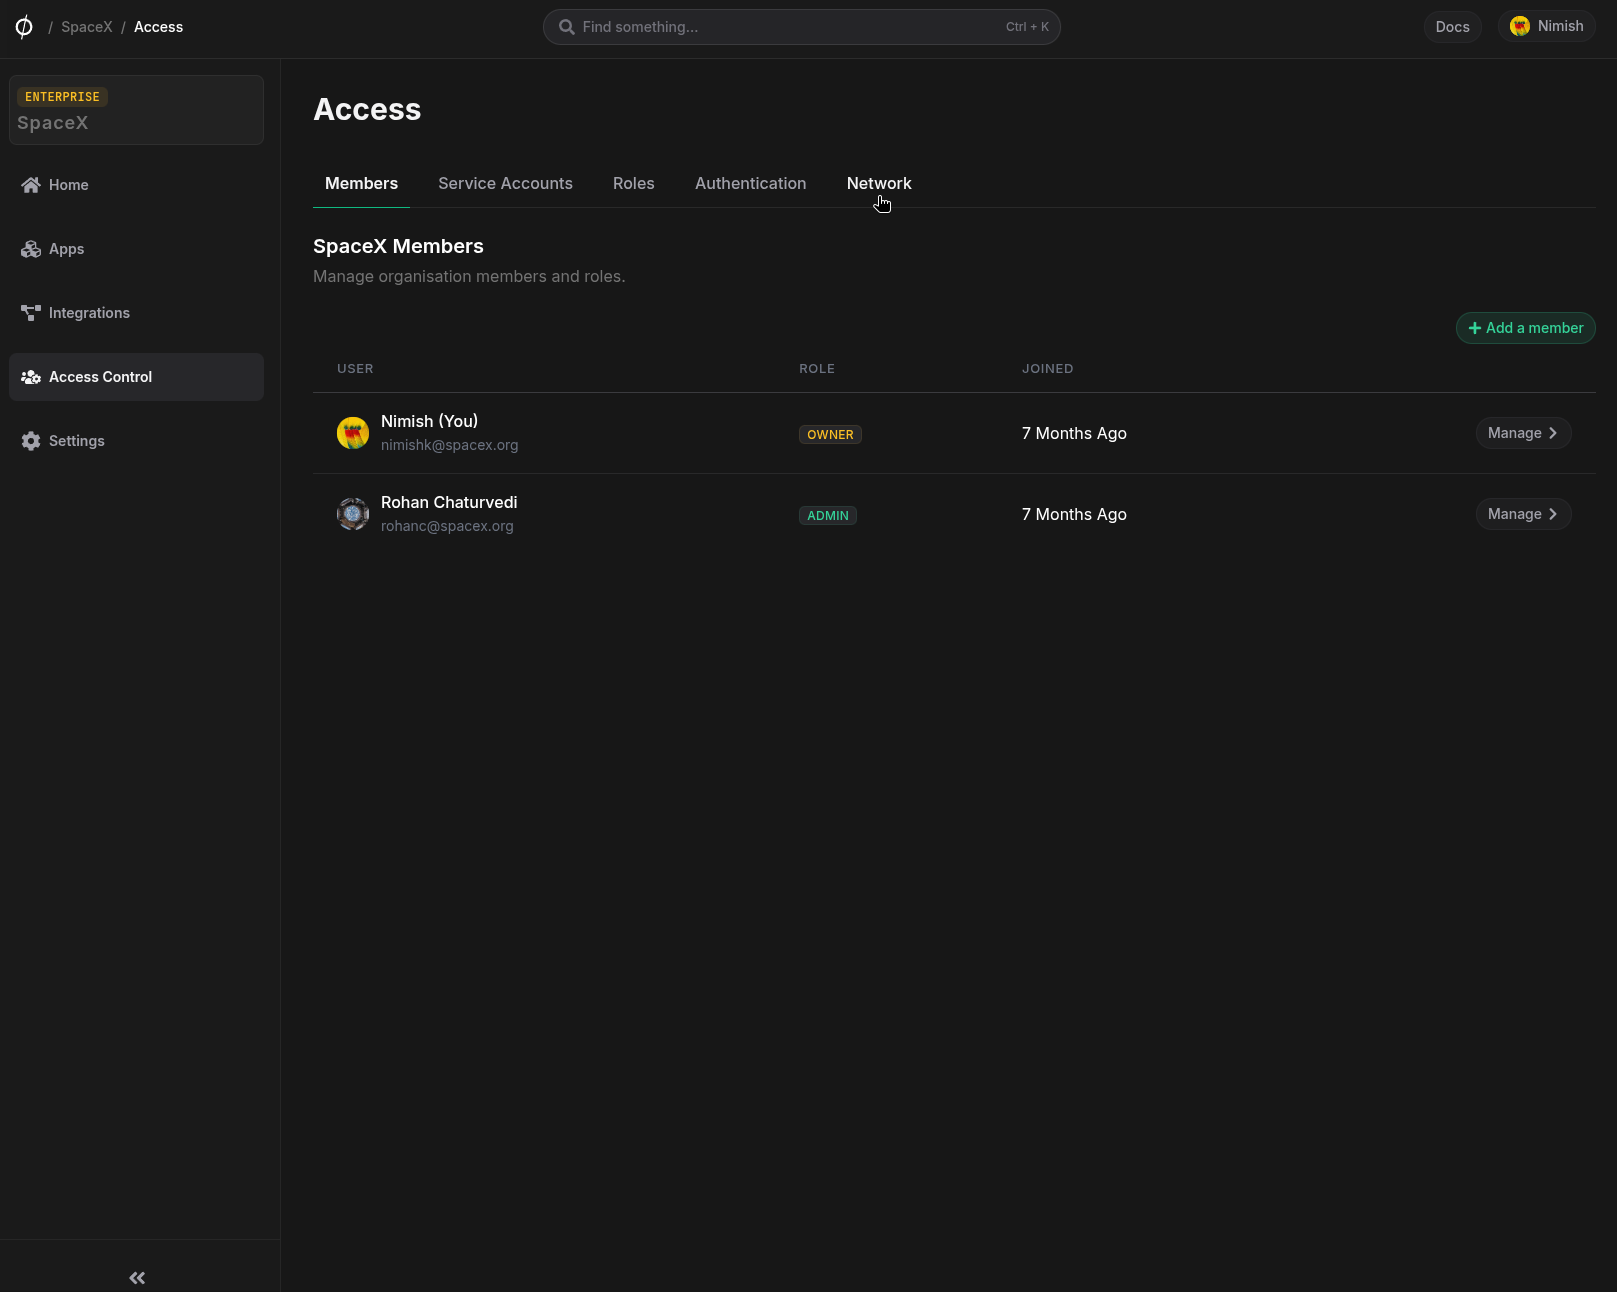
Navigate to the Access Control page from the sidebar and click on the Members tab.
-
Click on the Network tab.
Creating a Network Access Policy
-
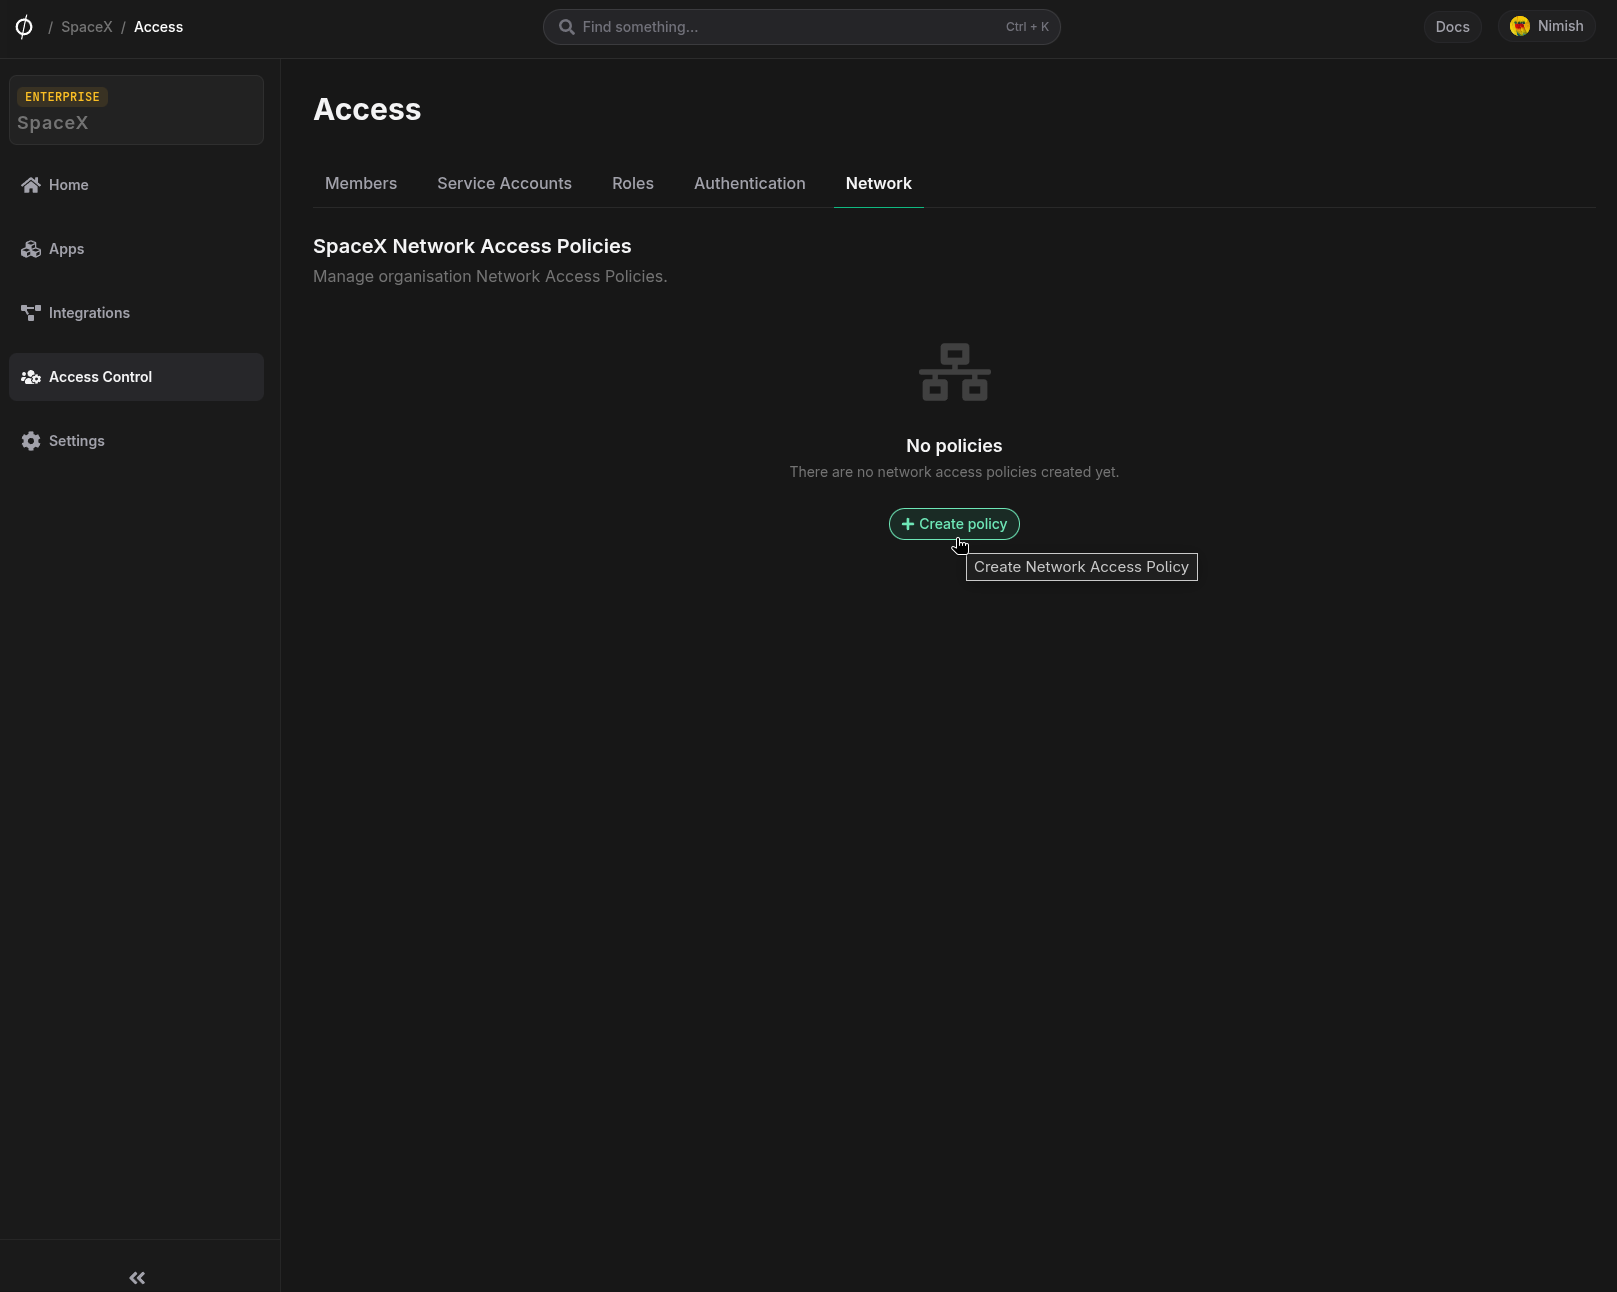
On the Network Access Policies page, click the "Create policy" button.
-
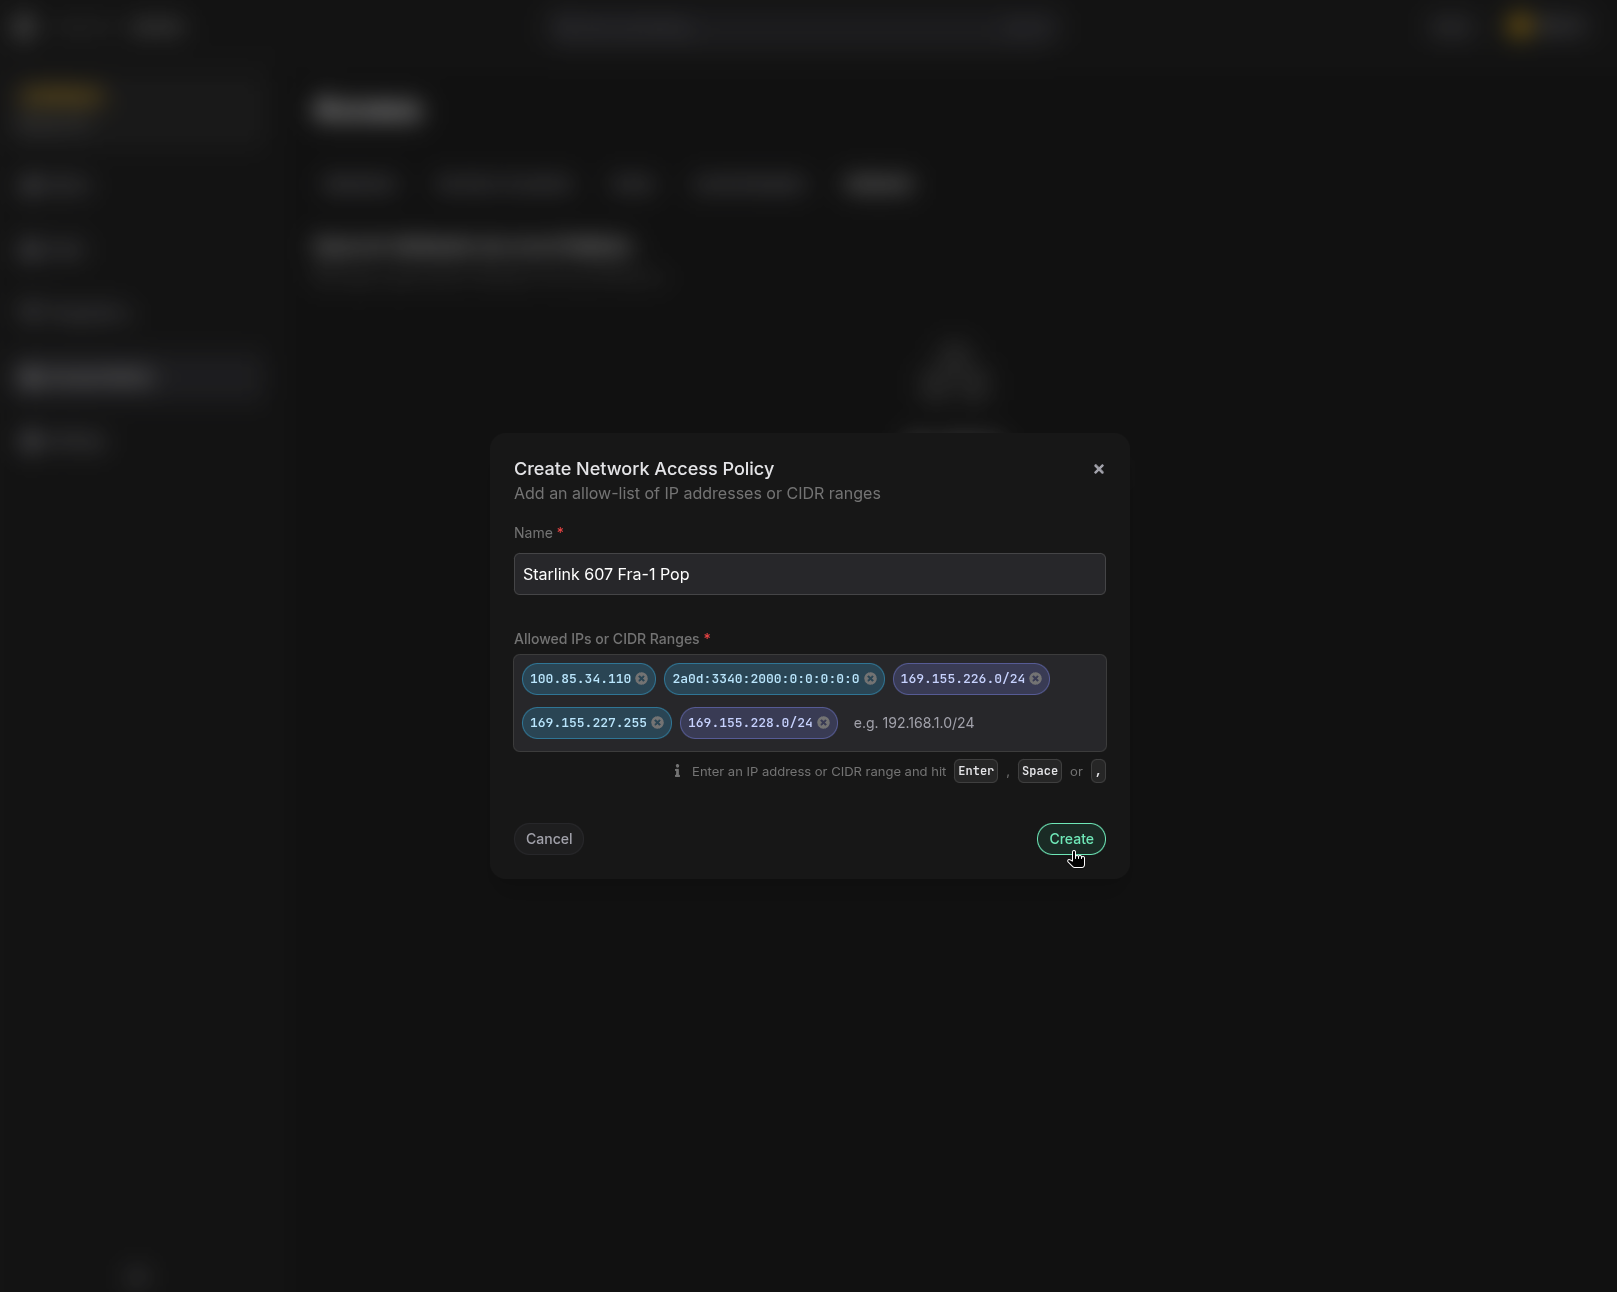
In the "Create Network Access Policy" popup:
- Enter a descriptive name for your policy in the "Name" field
- You can click the "Add current IP" button to automatically add your current IP address to the allowlist
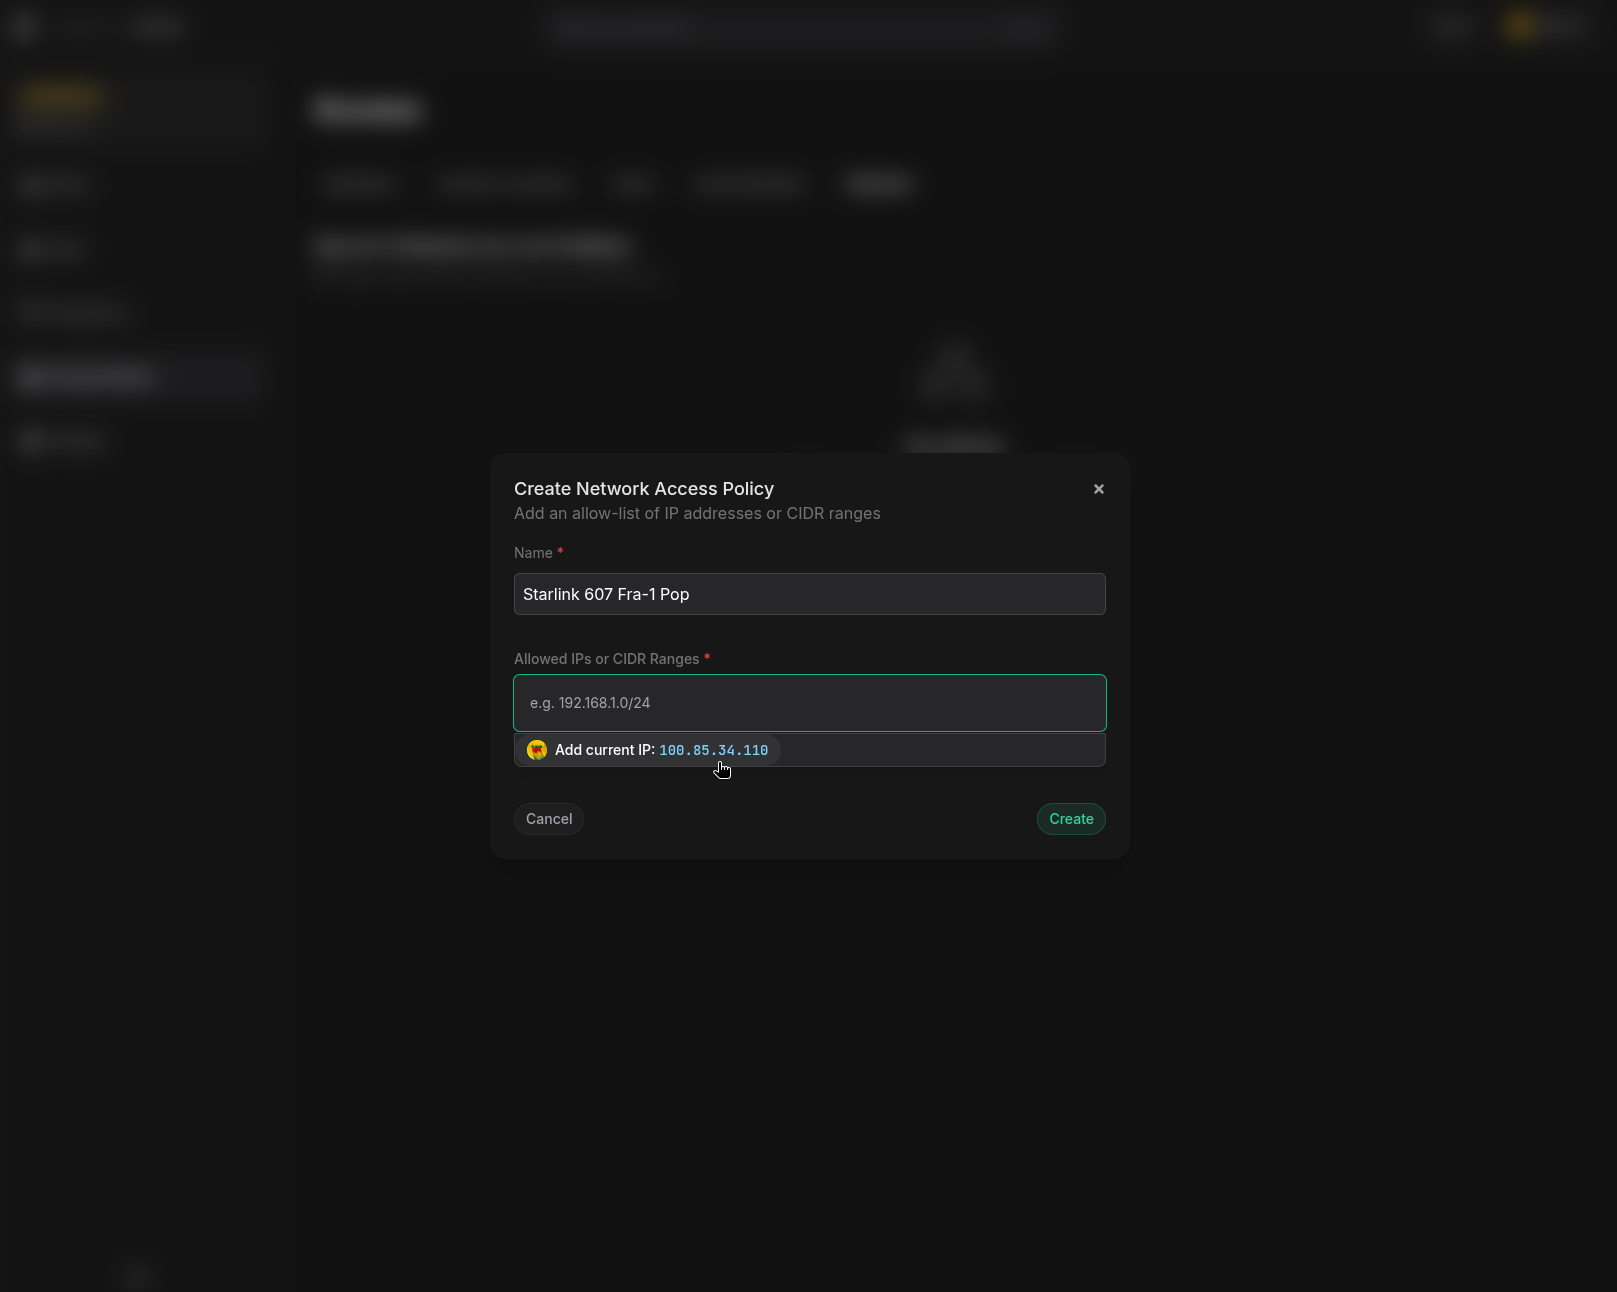
-
Add additional IP addresses or CIDR ranges in the "Allowed IPs or CIDR Ranges" field:
- Enter each IP address individually (e.g., 123.123.123.123, 192.168.1.0/24)
- Press
Enter,Spacebar,,after each entry to add it - You can add multiple IPs and CIDR ranges as needed
-
Click the "Create" button to save your Network Access Policy.
-
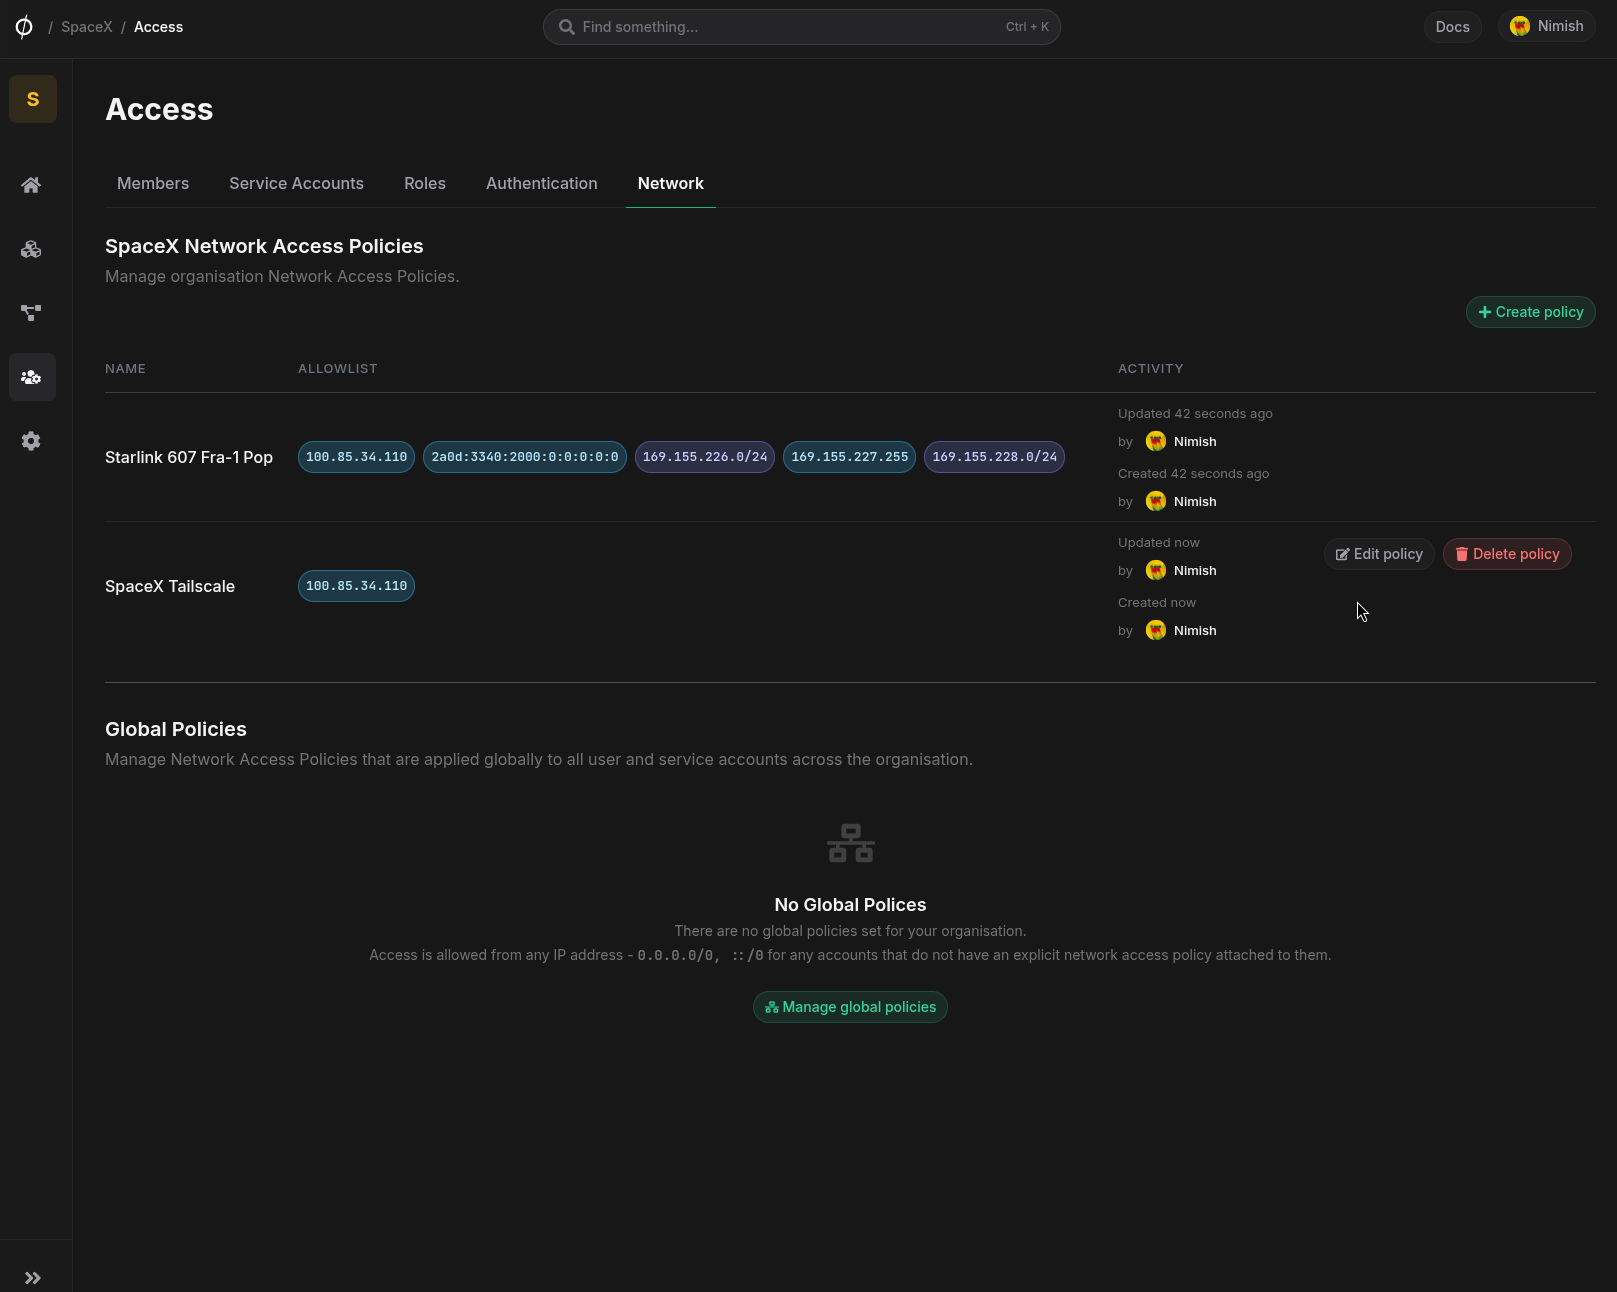
Your newly created policy will appear in the Network Access Policies list, showing the policy name and the allowed IP addresses/CIDR ranges.
Editing a Network Access Policy
-
Locate the policy you want to edit in the Network Access Policies list.
-
Click the "Edit policy" button (📝 icon) associated with that policy.
-
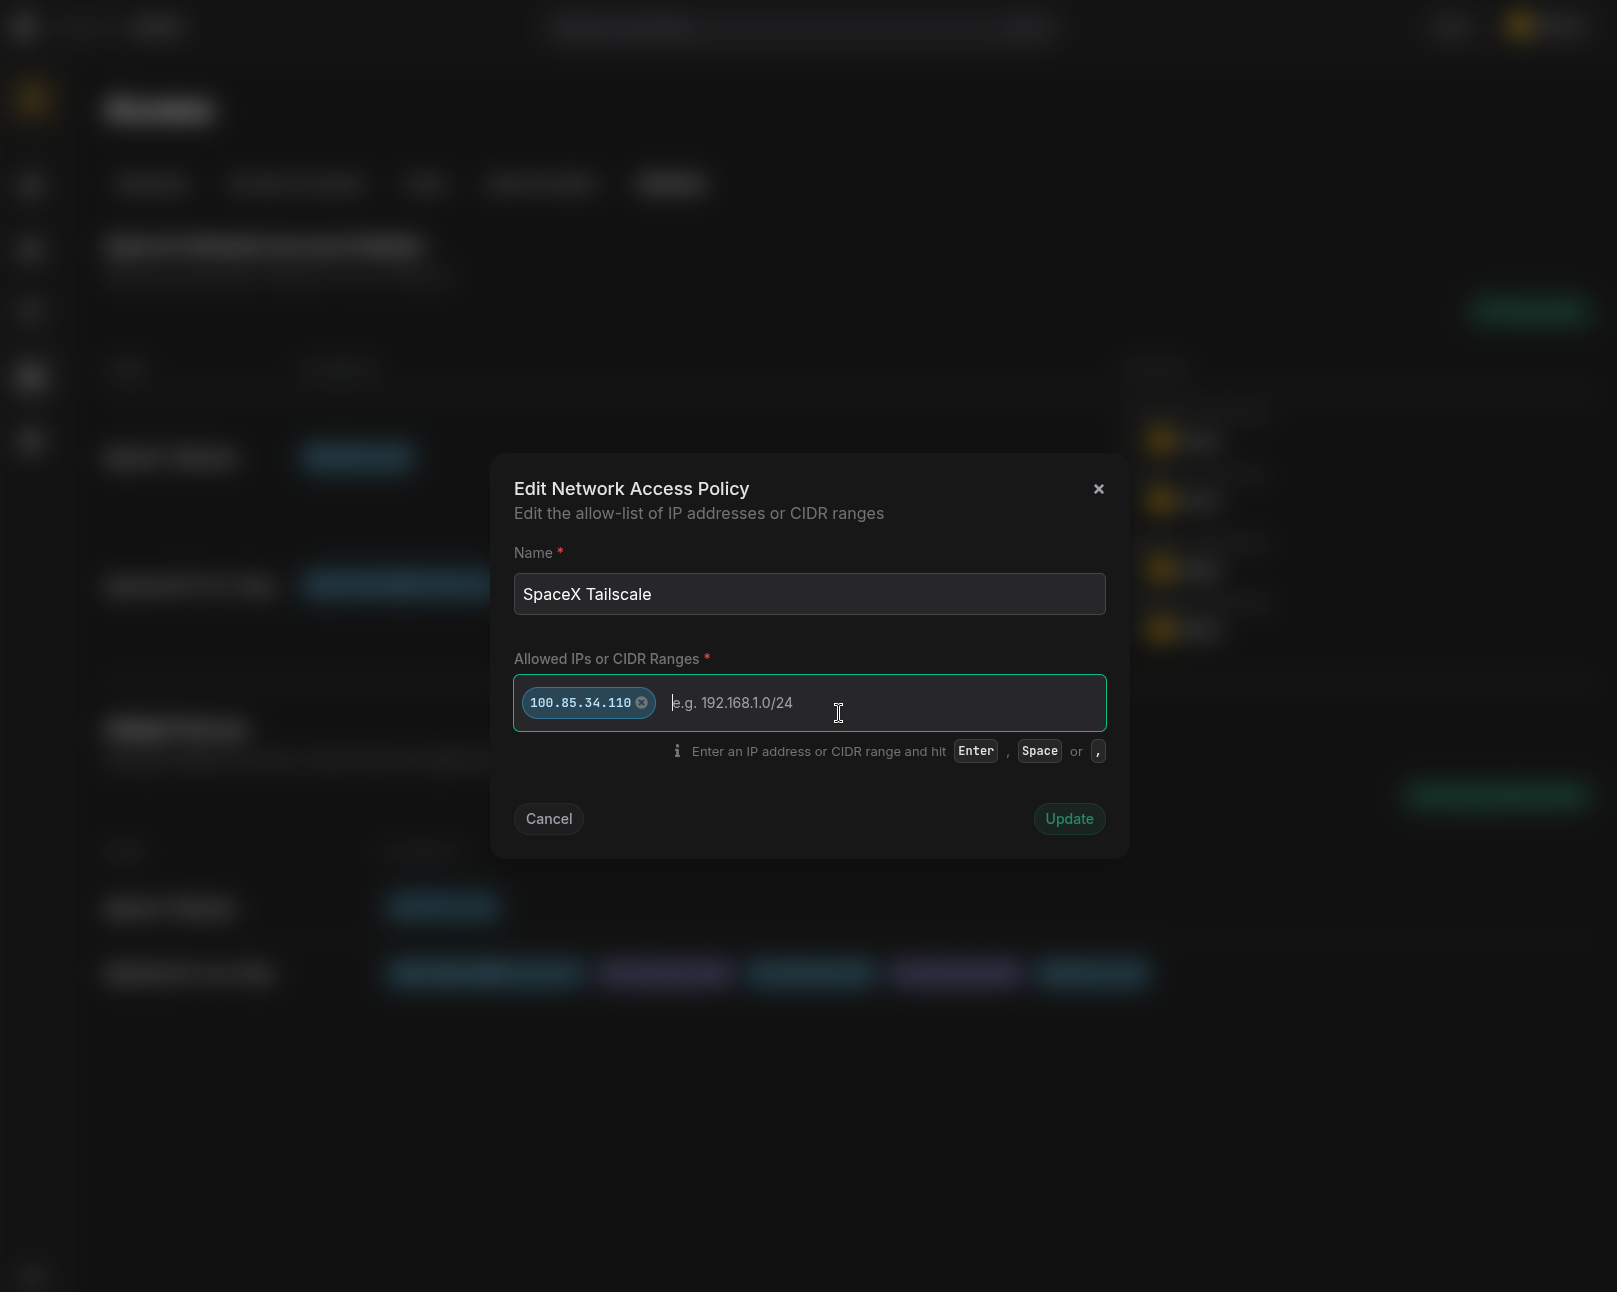
In the "Edit Network Access Policy" modal:
- Modify the policy name if needed
- Add or remove IP addresses and CIDR ranges by:
- Clicking the "x" on the existing IP addresses and CIDR ranges to remove them
- Entering new IPs or CIDR ranges and pressing
Enter,Spacebar,,
- Click "Update" to save your changes
Applying a Network Access Policy to a User Account
-
Navigate to Access Control > Members.
-
Find the member you want to apply the policy to and click the "Manage" button.
-
Scroll down to the Network Access Policy section and click "Manage policy".
-
Select the policy you want to enable by clicking the toggle button next to it.
-
Click the "Save" button to apply the policy to the user account.
Here's a quick video demo:
Applying a Network Access Policy to a Service Account
-
Navigate to Access Control > Service Accounts.
-
Find the service account you want to apply the policy to and click the "Manage" button.
-
Scroll down to the Network Access Policy section and click "Manage policy".
-
Select the policy you want to enable by clicking the toggle button next to it.
-
Click the "Save" button to apply the policy to the service account.
Here's a quick video demo:
Global Network Policies
Global Network Policies allow you to enforce network access restrictions across your entire organization. When enabled, these policies apply to all users and service accounts that don't have an explicit network access policy attached.
Enforcing a Global Network Policy
-
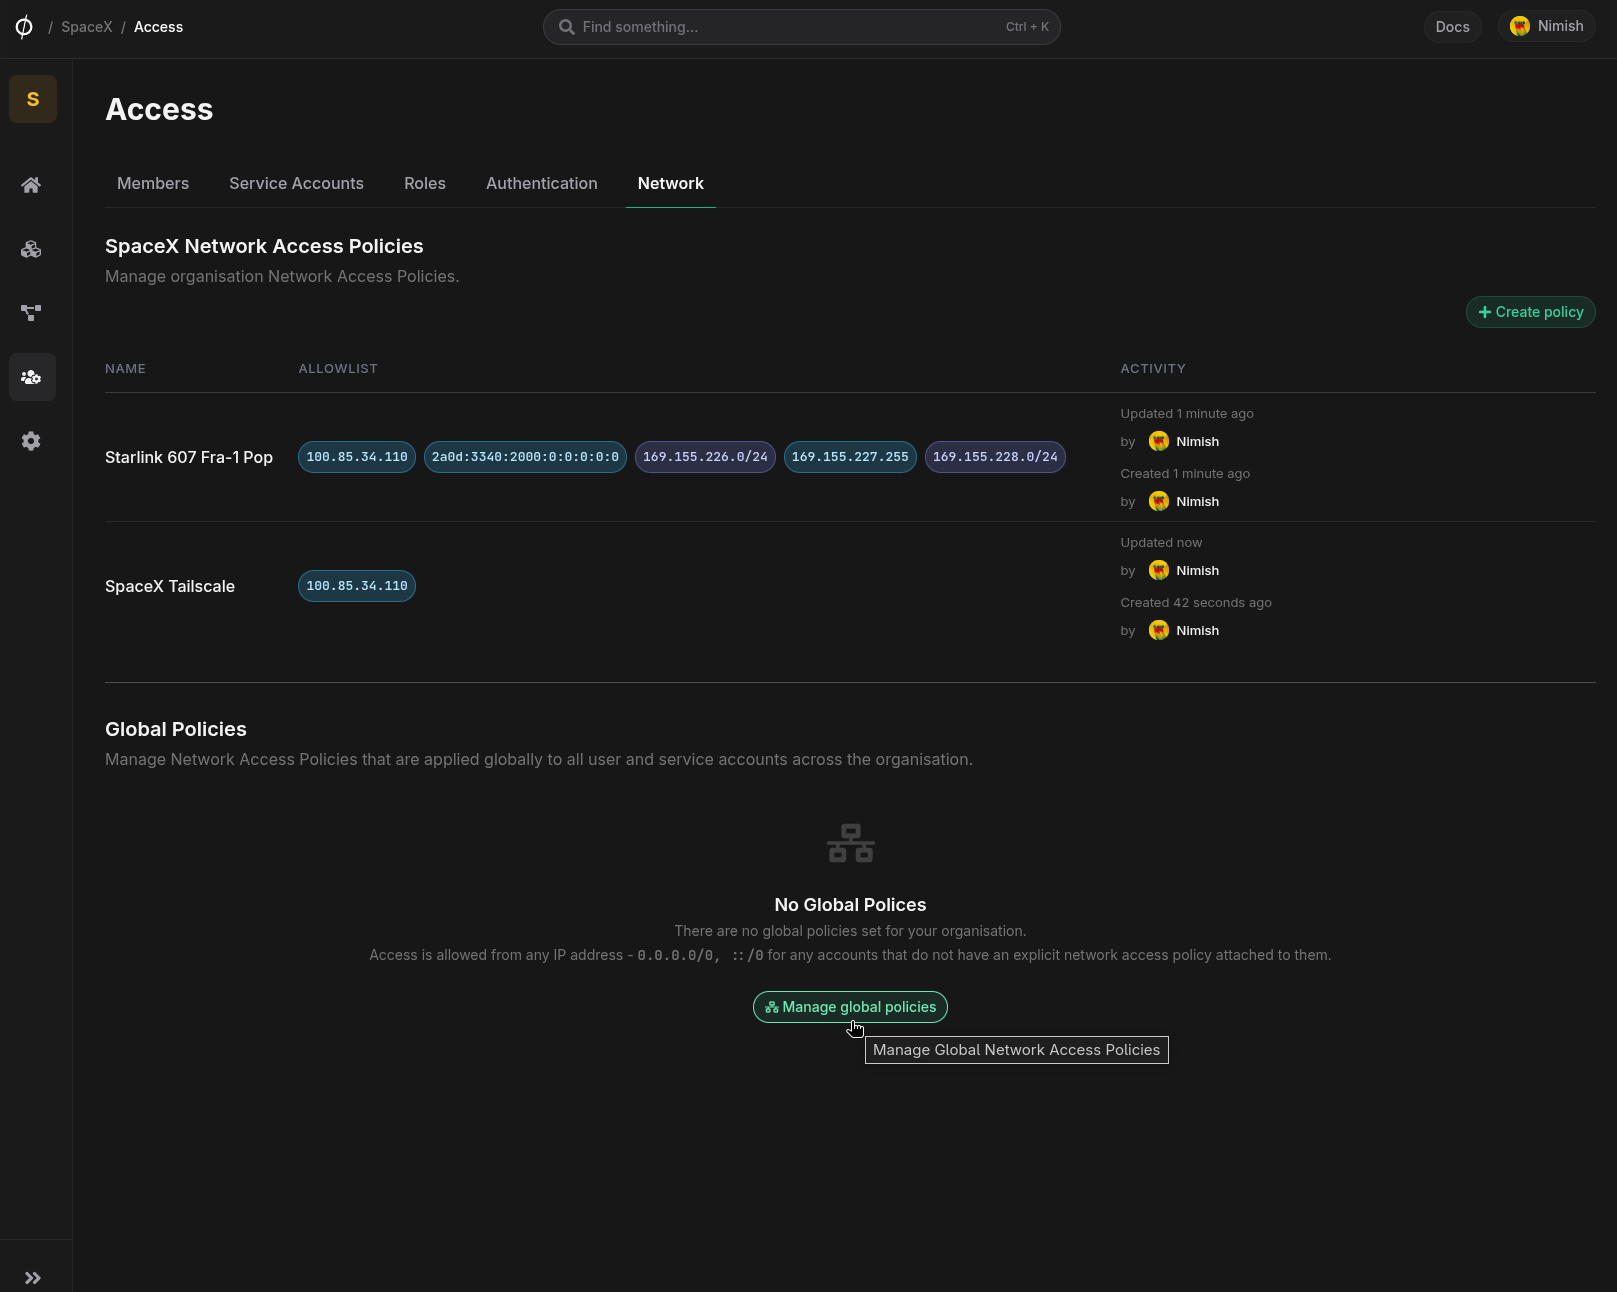
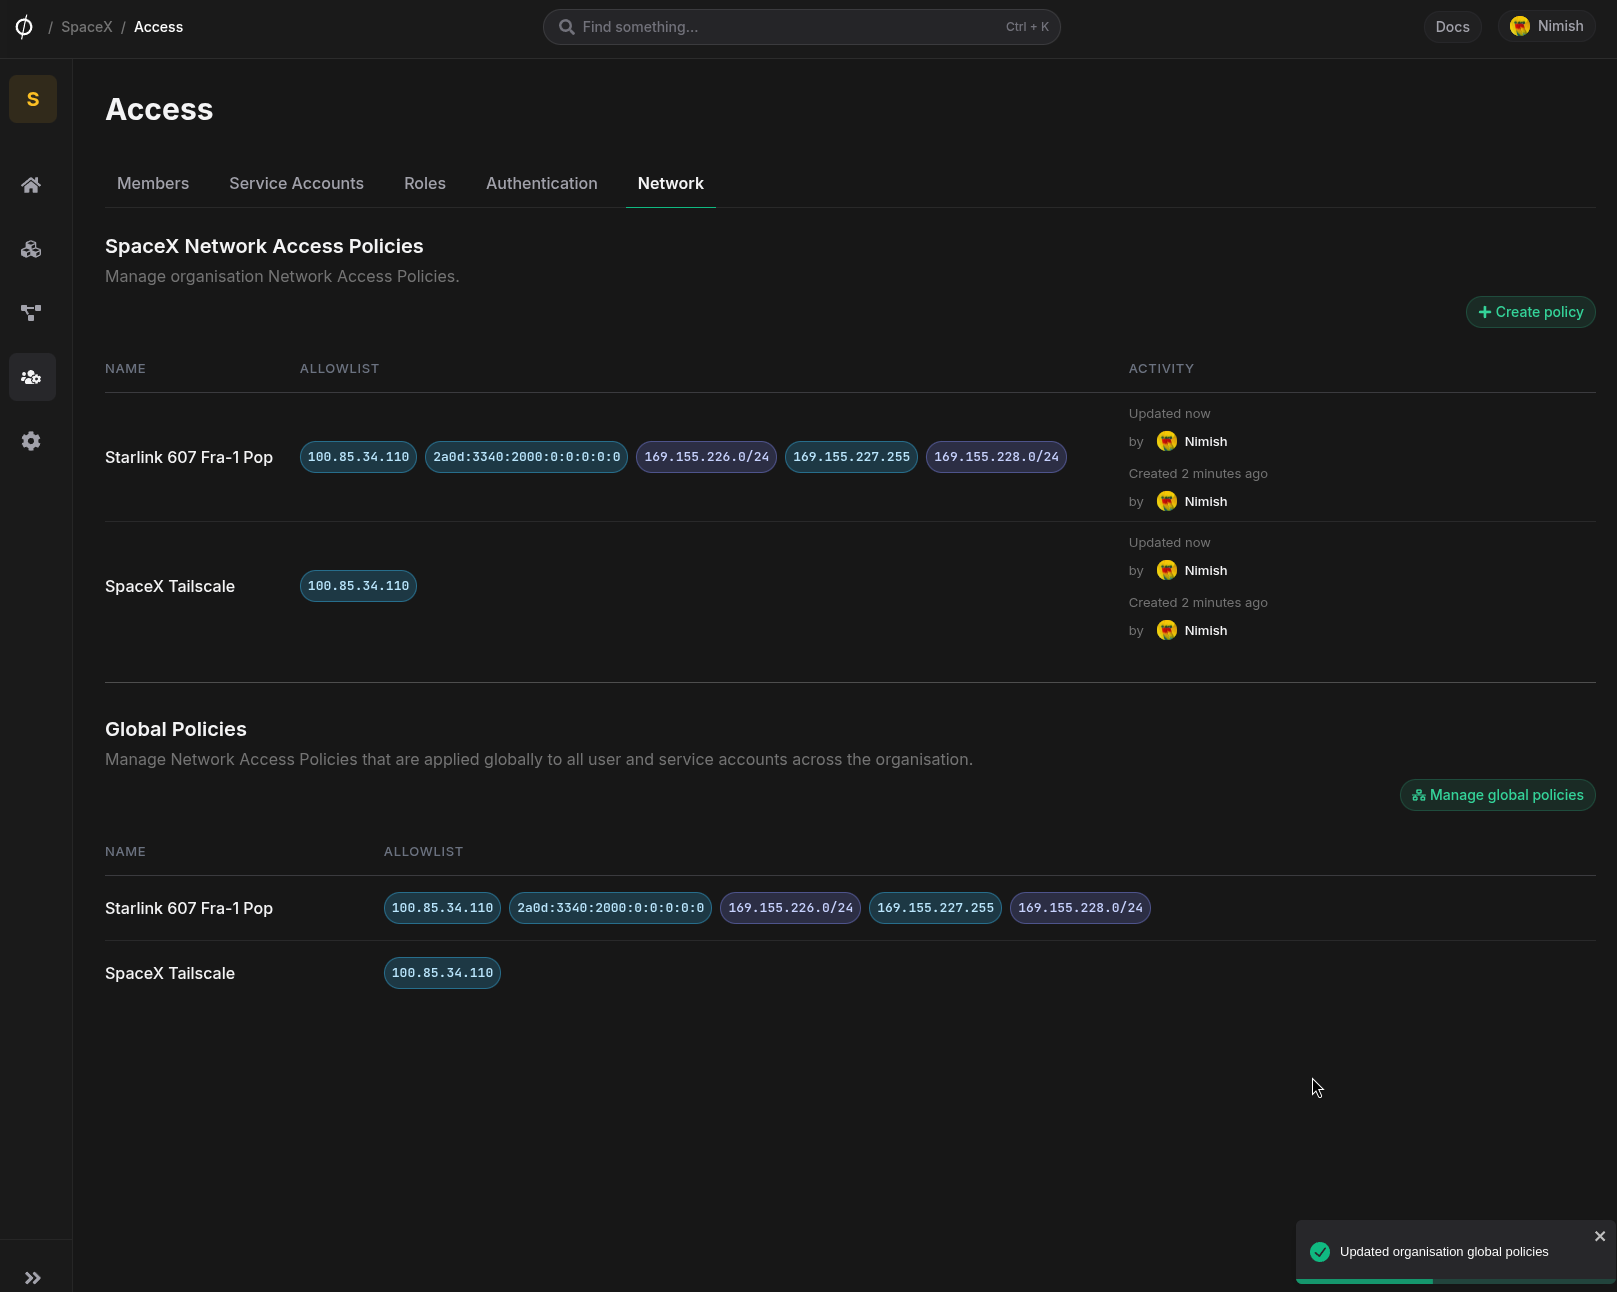
On the Network Access Policies page, scroll down to the "Global Policies" section.
-
Click the "Manage global policies" button.
-
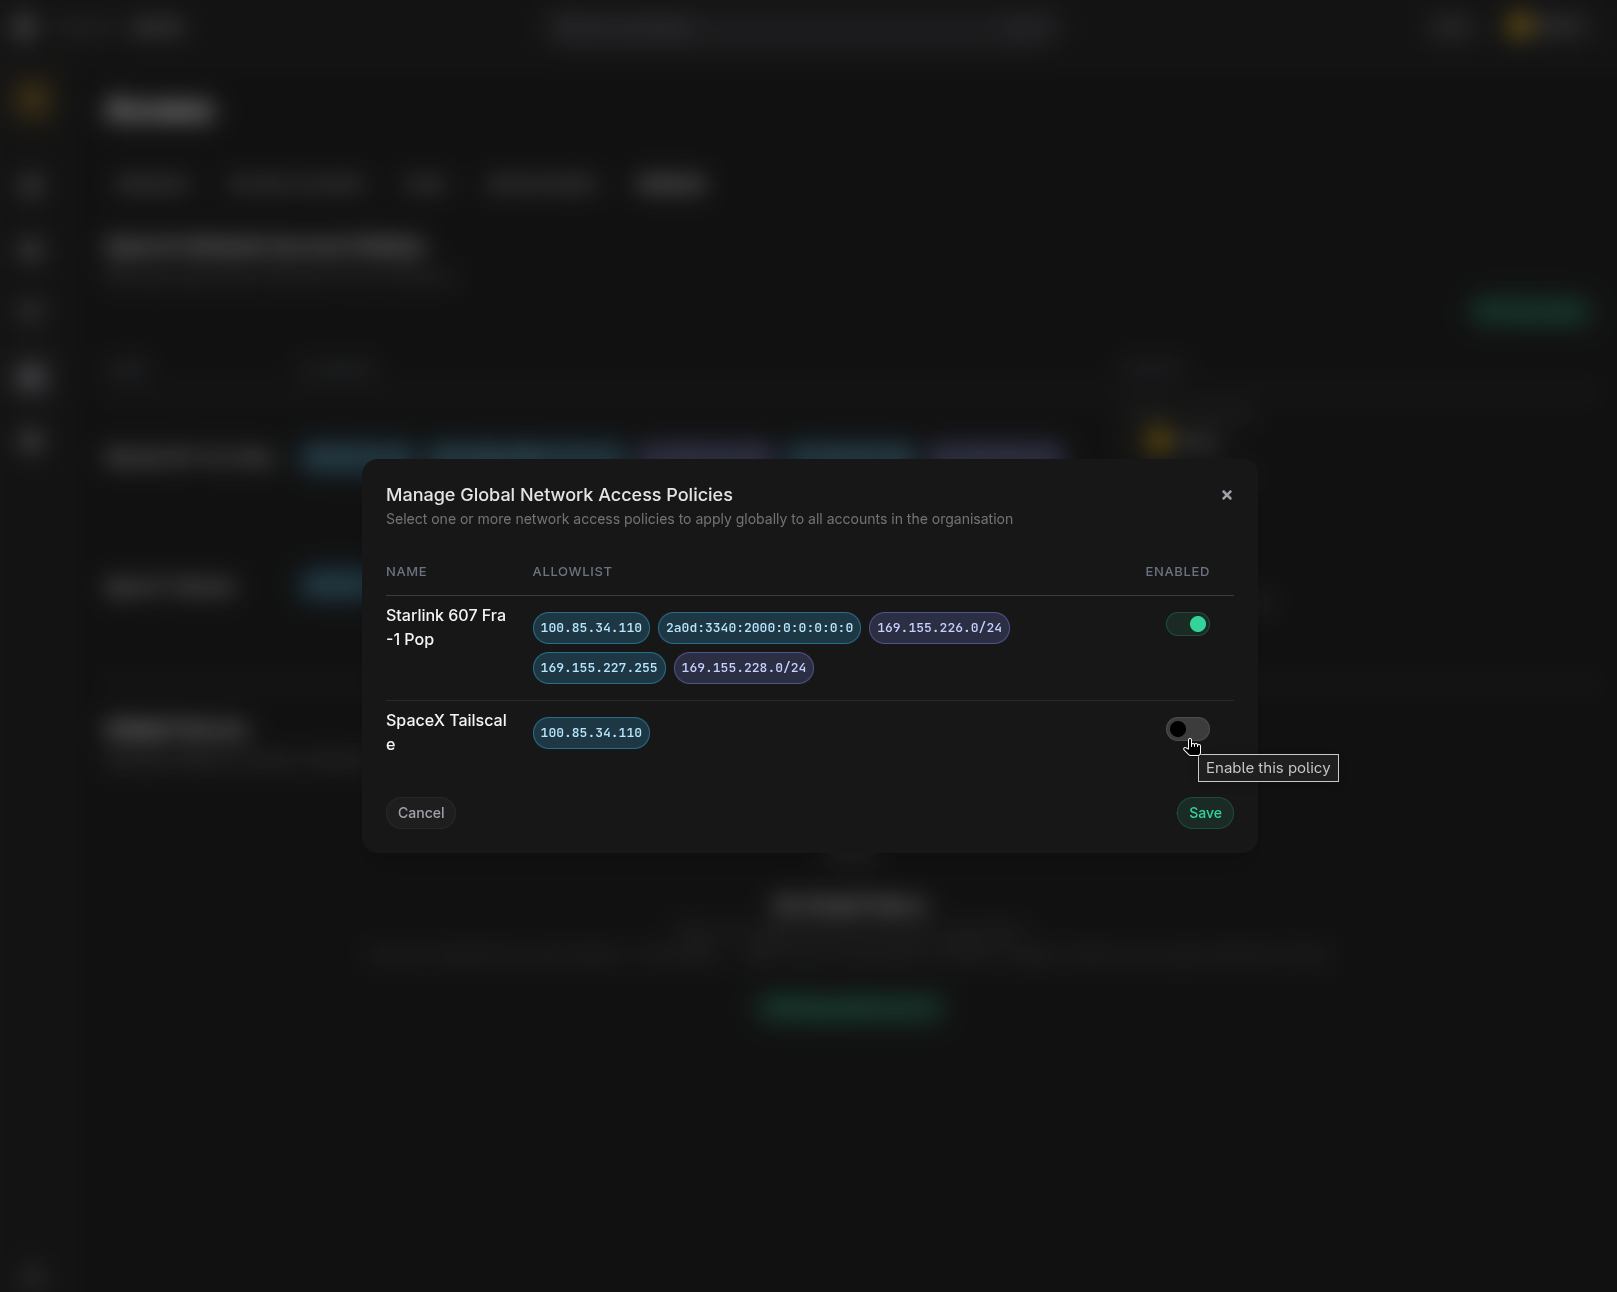
In the "Manage Global Network Access Policies" modal:
- Select the policy you want to enable globally by clicking the toggle button next to it
- You can enable multiple global policies if needed
-
Click the "Save" button to apply the global policy.
If the network access policy that you are trying to set as a global policy does not include the IP address of your current network source, you will be locked out of the Phase Console after enabling it. Phase will display a warning if your current IP is not in the allowed list.
- After enabling a global policy, it will be displayed in the Global Policies section of the Network Access Policies page.
When attempting to enable a global policy that doesn't include your current IP address, Phase will display the following warning:
"This policy is enabled globally and your current IP (100.85.34.110) is not in the allowed list or any CIDR range. You may be locked out. Continue?"
If you see this warning, you should either:
- Cancel and add your current IP to the policy before enabling it globally
- Only proceed if you have another means of accessing Phase from an IP that is included in the policy
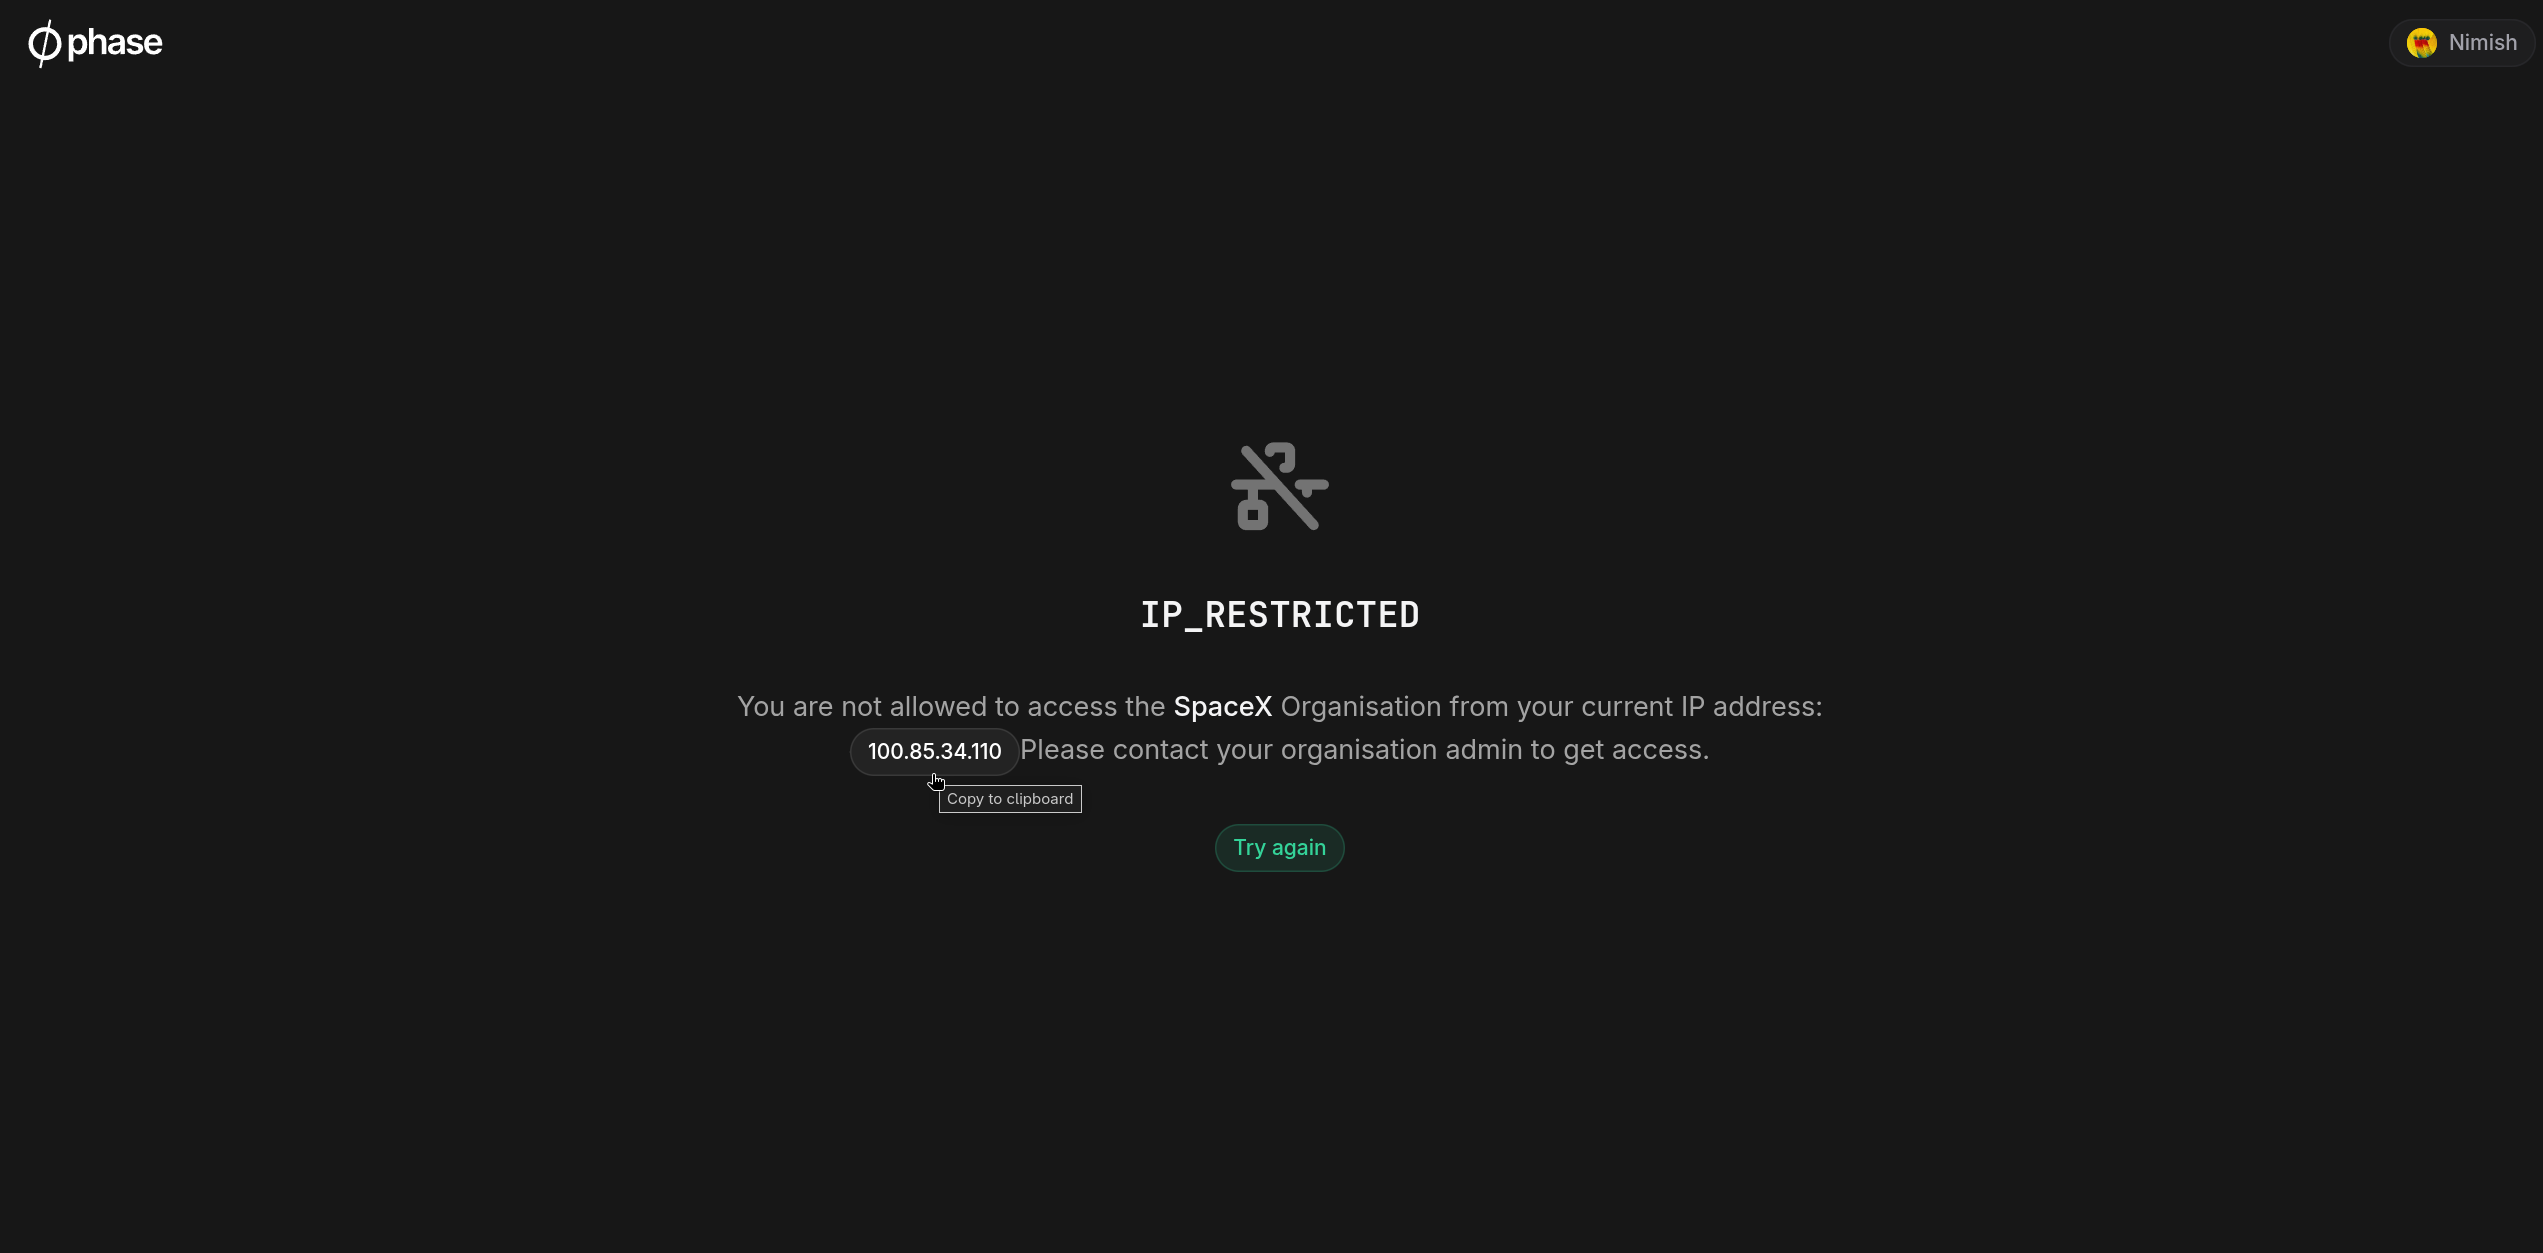
Access Denied Exceptions
Attempting to access a resource such as secrets from a network source that is not defined in a Network Access Policy will result in a 403 (Access Denied) error.
Phase Console example:
CLI example:
phase secrets list --app example-app
[14:08:42] Error: 🚫 Access denied: a network access policy restricts access from your IP address..
REST API example:
{"error":"Access denied: a network access policy restricts access from your IP address."}